Ford Duratec Installation and Tuning
Page 2
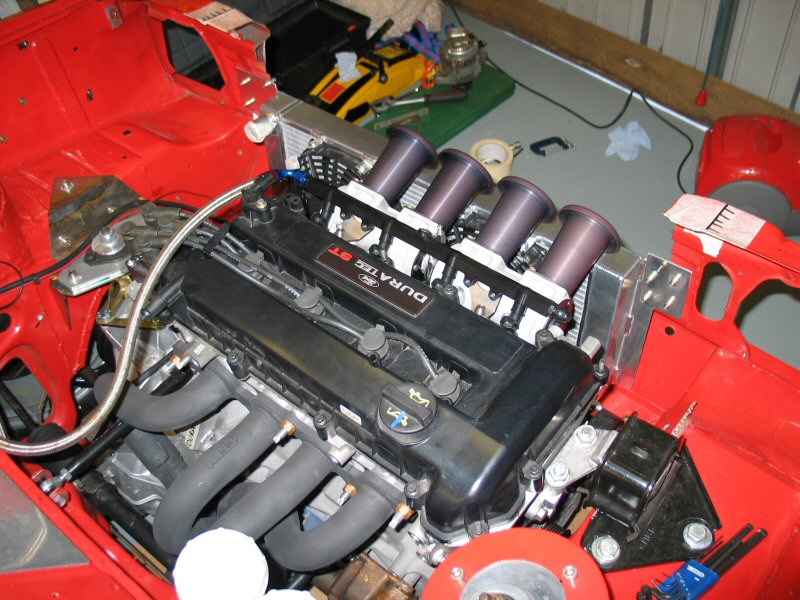
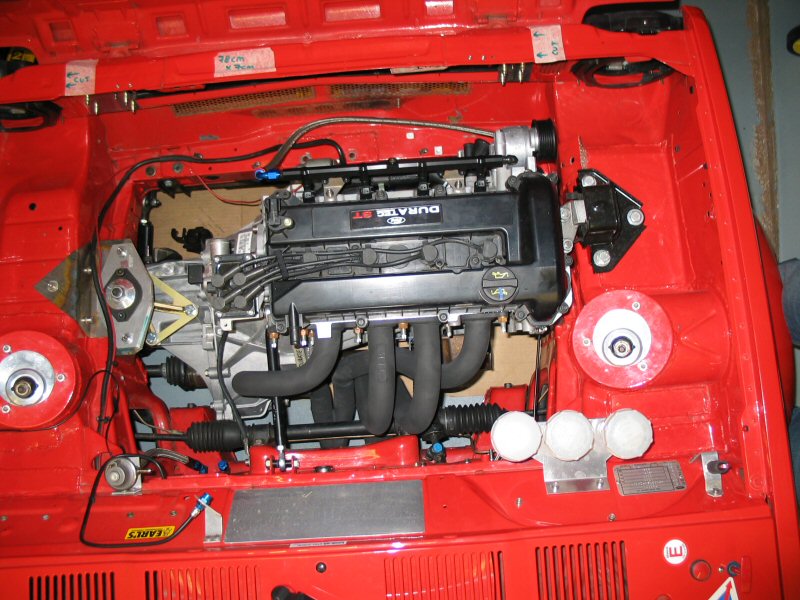
LastThis page is dedicated to the Ford Duratec DHE420 engine and my attempt to install it in the Mk1 Ford Fiesta.
January 2009
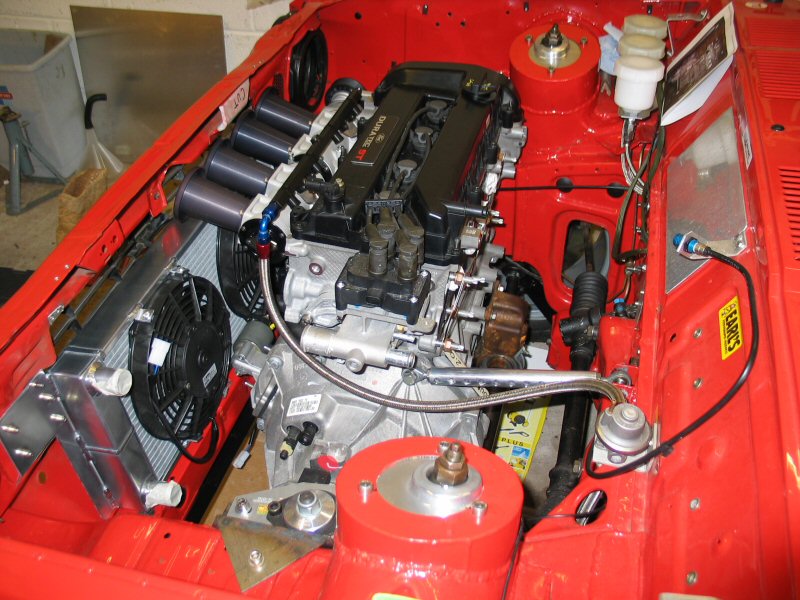
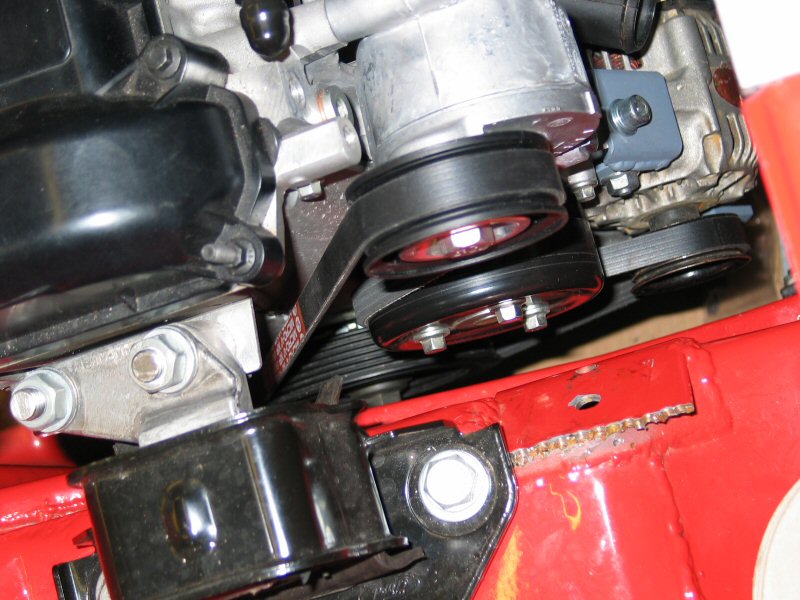
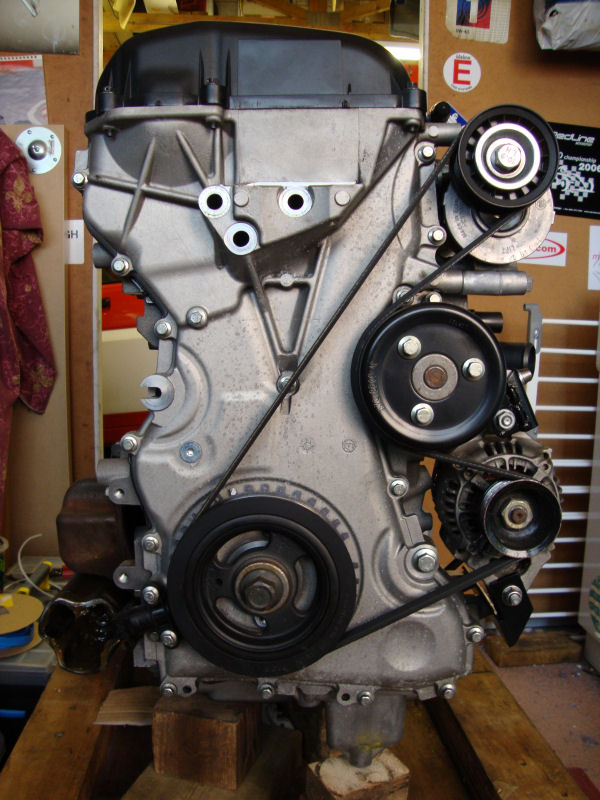
These pictures show the Ford Duratec alternator drive belt tensioner, and the Titan fuel rail. The alternator / waterpump belt tensioner, is available from Coordsport, part number 3M5Q-6A228-AD, FINIS number 1315781. This is the tensioner for the waterpump / alternator and airconditioning pump belt on the 2004 model year Focus / CMax with a 1.8 Duratec HE engine.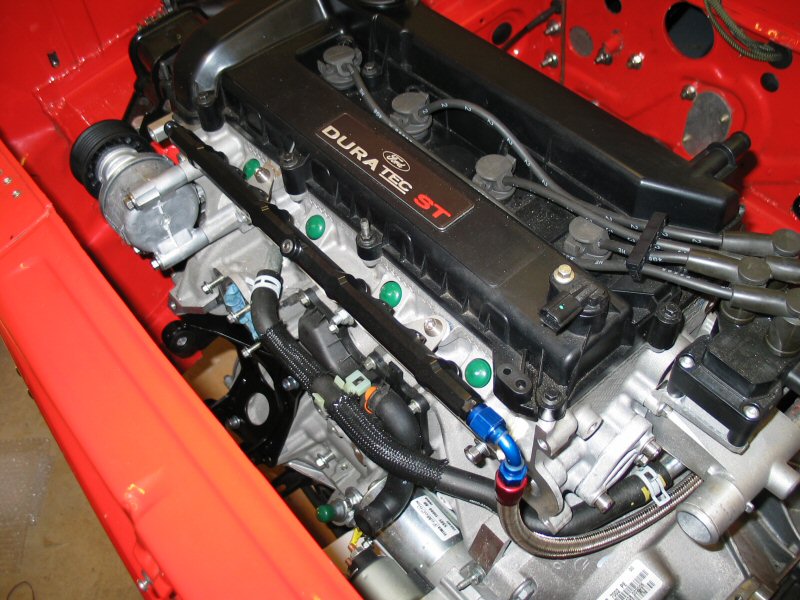
February 2009
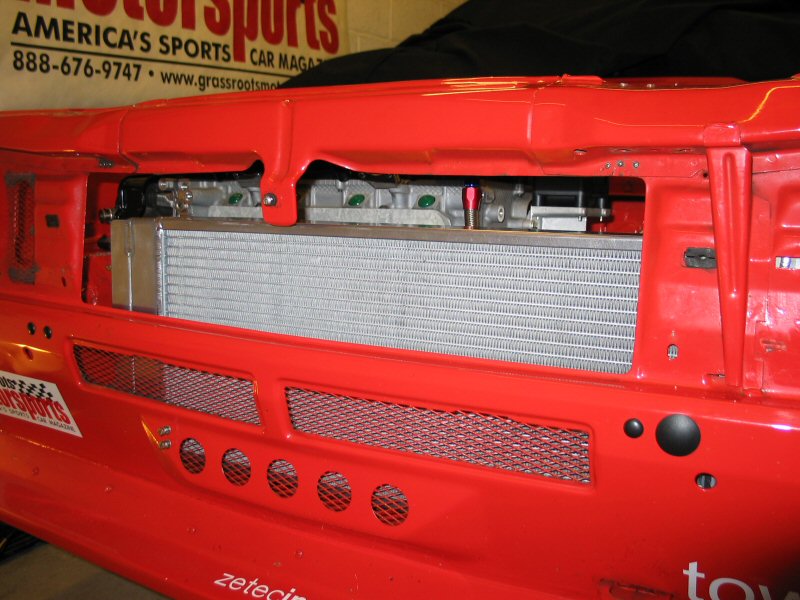
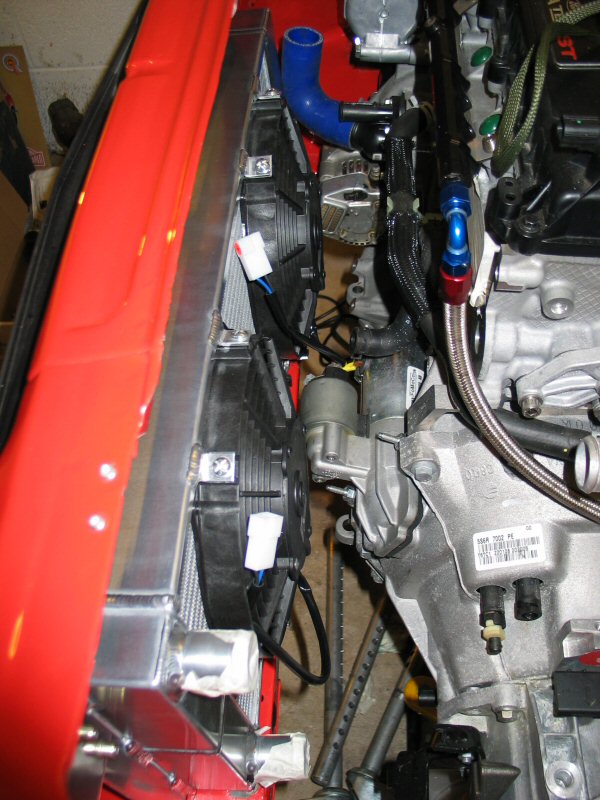
Radtec custom made aluminium Radiator.The radiator looks small, but it has a larger surface area (26cm x 66cm) than the RS1800i radiator (30cm x 50cm) that the XR2 was running previously with the Zetec, and so long as I can get air to flow through it, it should keep the Duratec nice and cool. The twin fans are going to help when she's sitting in traffic.


March 2009
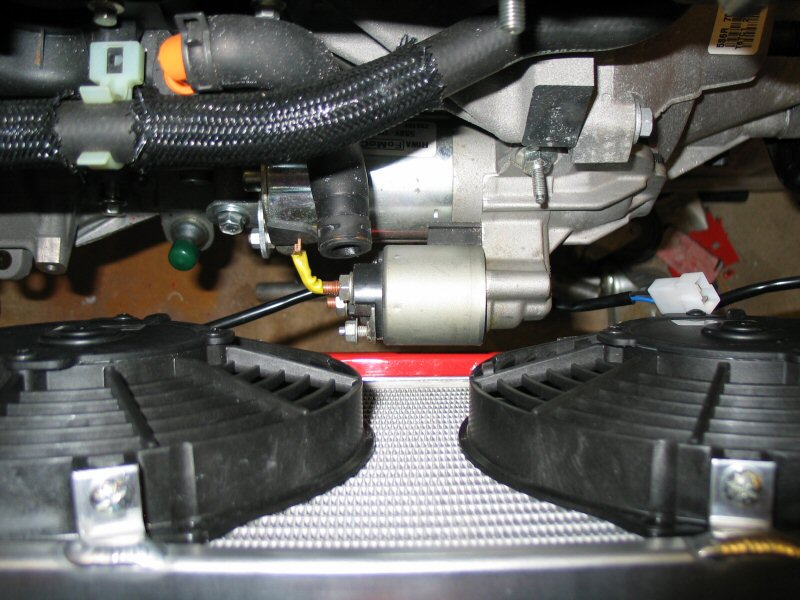
I've fitted the radiator to the body shell, using two aluminium plates, and M6 stainless socket head screws. I've also incorporated M5 fasteners in to the brackets to allow the front radiator grill to bolt securely to the shell. The radiator is fixed centrally to avoid the starter motor solenoid hitting the twin Spal cooling fans. So I need to plumb it all in now, and find a way of routing the water from the thermostat housing pipe back over to the swirl pot/header tank over on the nearside.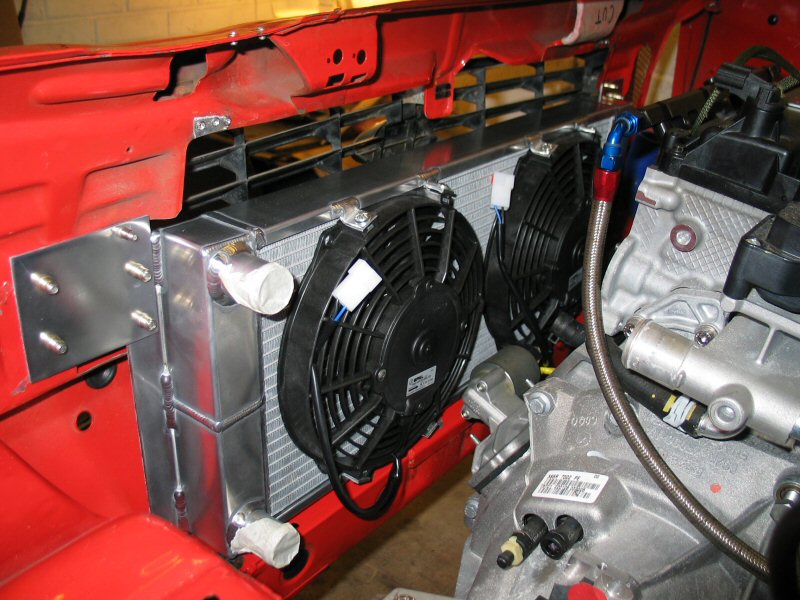

April 2009
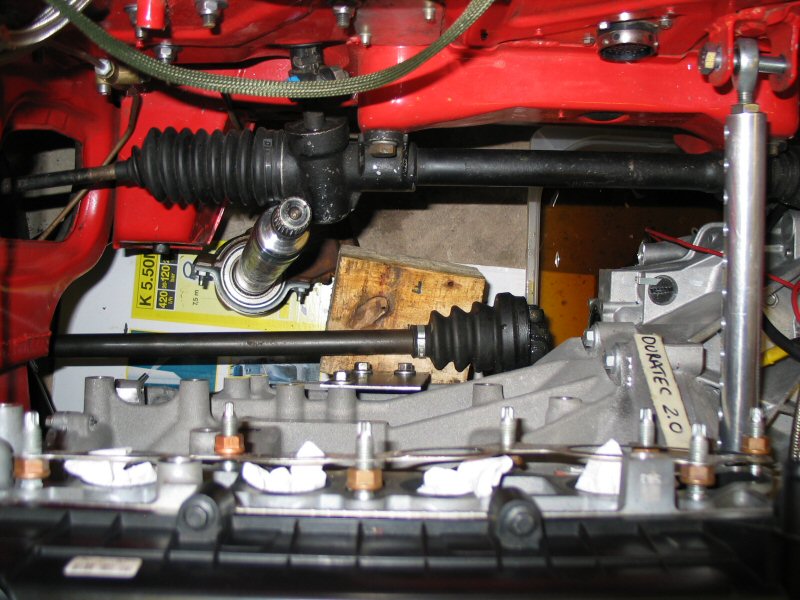
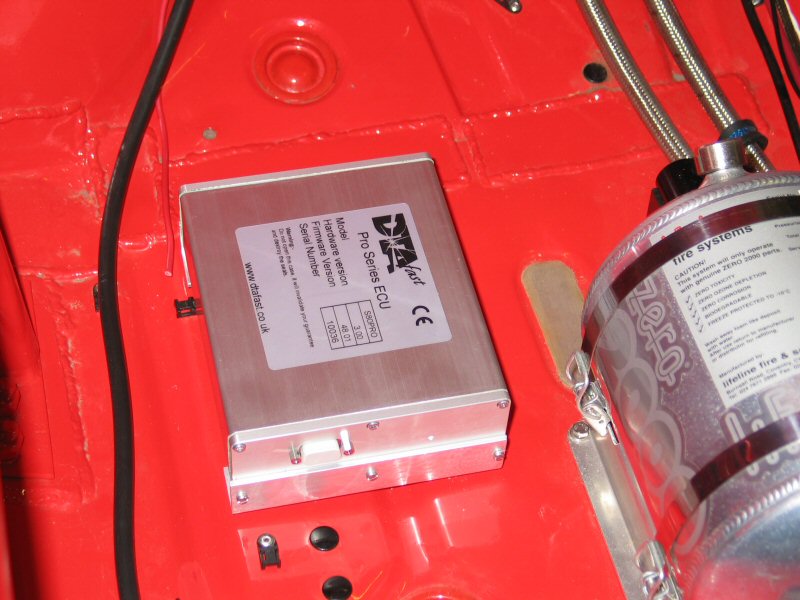
I've made some good progress this month. Engine steady bars are now fixed in place, preventing the engine from moving fore/aft under acceleration/braking. The new DTA S80Pro ECU has also been acquired, and needs wiring in. The offside driveshaft was also removed to allow me to measure the length of the new one. I'm retaining the intermediate driveshaft on the rear of the block, because the BC gearbox flange wont fit in the side of the IB5 box, due to interference from the block. I've specified a 4.38:1 final drive in the new gearbox, because the red line of 8000rpm will give me similar gear change points to the 3.857:1 final drive I ran with the Zetec with a red line of 7200rpm. Top speed will be 130MPH+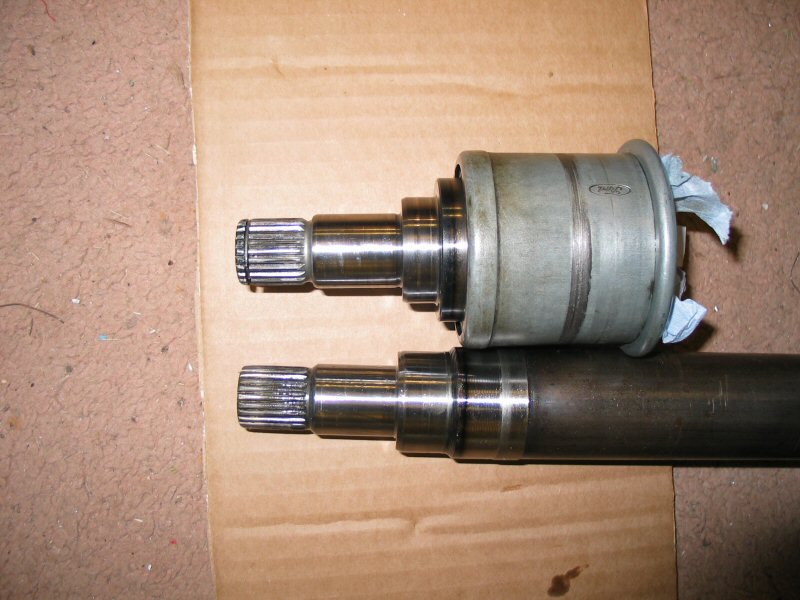

May 2009
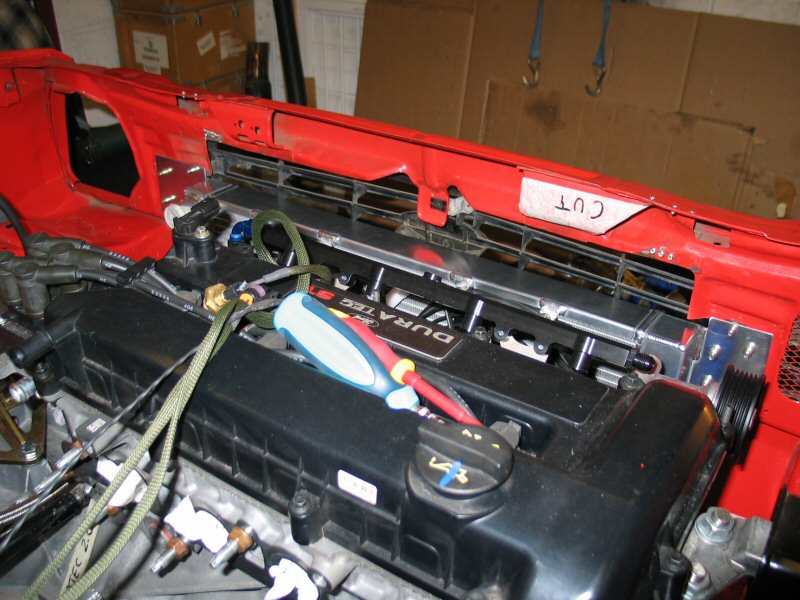
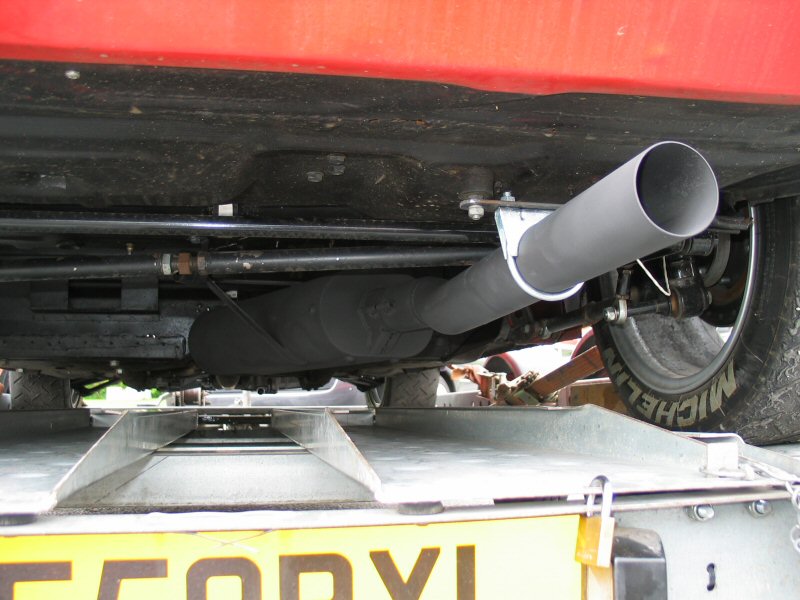
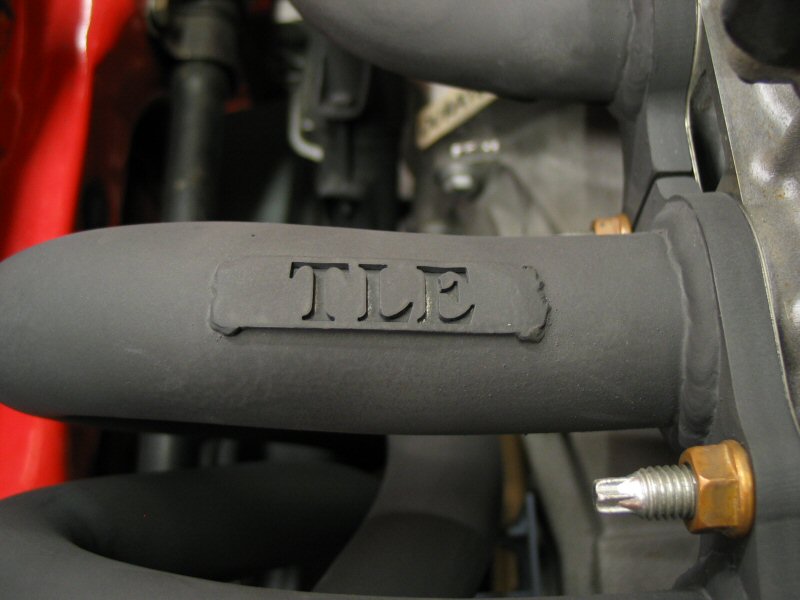
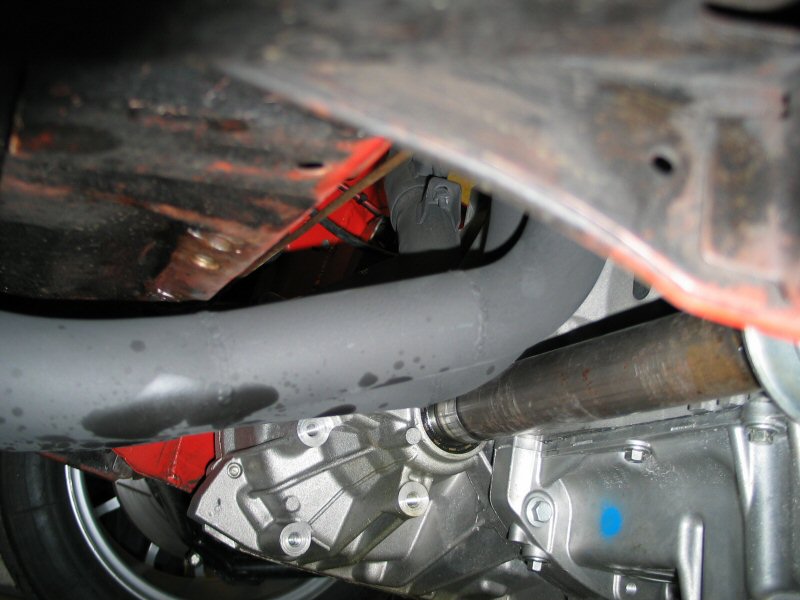
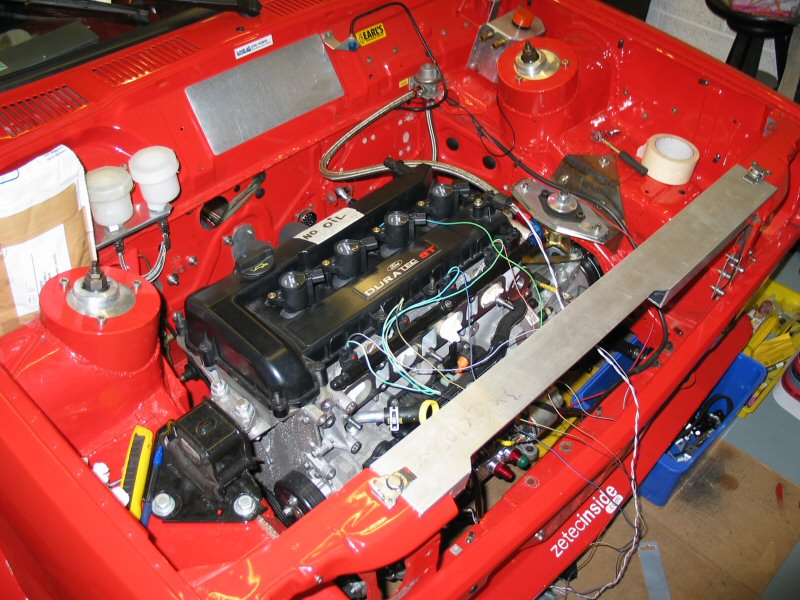
This month the car went up to Tony Law in Leeds, for a complete exhaust manifold and system, and I started the re-wiring of the engine management system, and I've chopped out the front slam panel.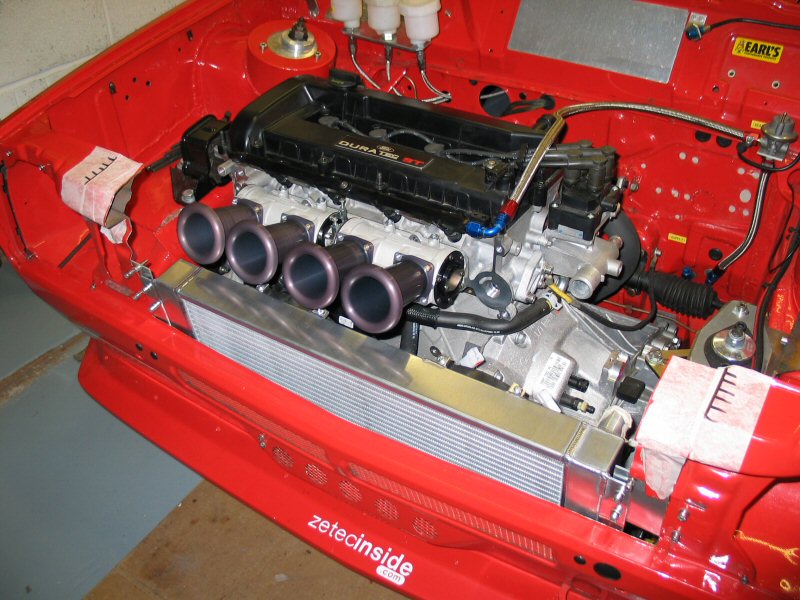


June 2009
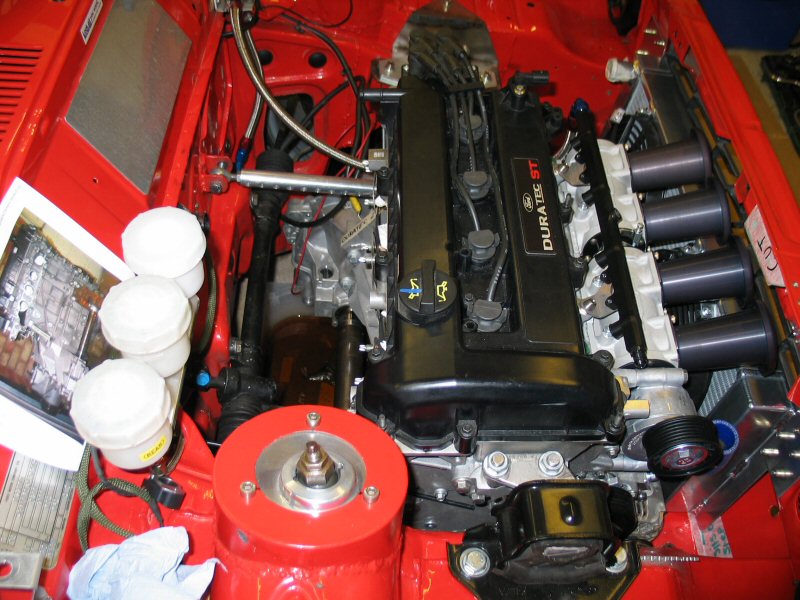
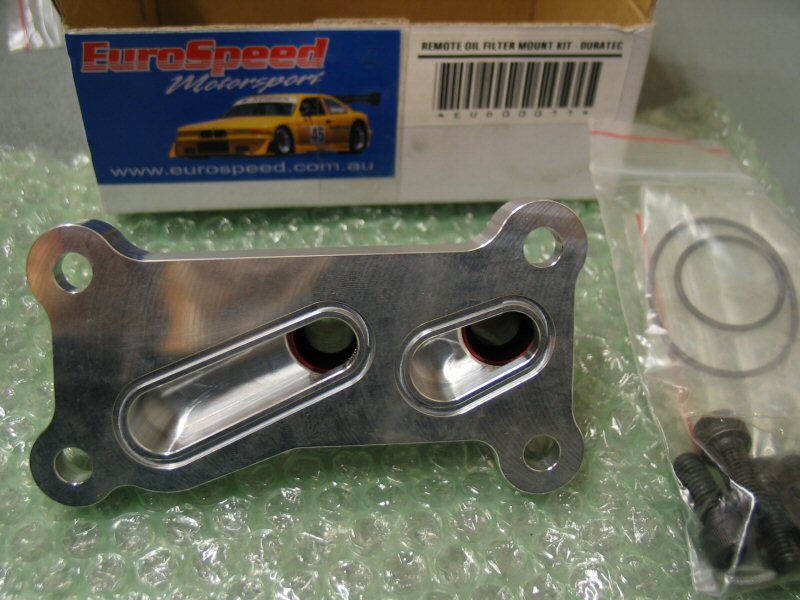
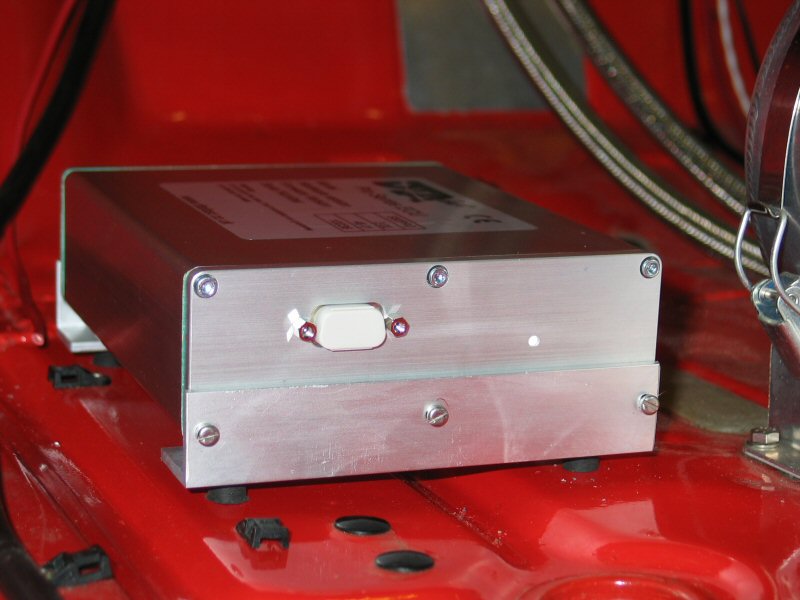
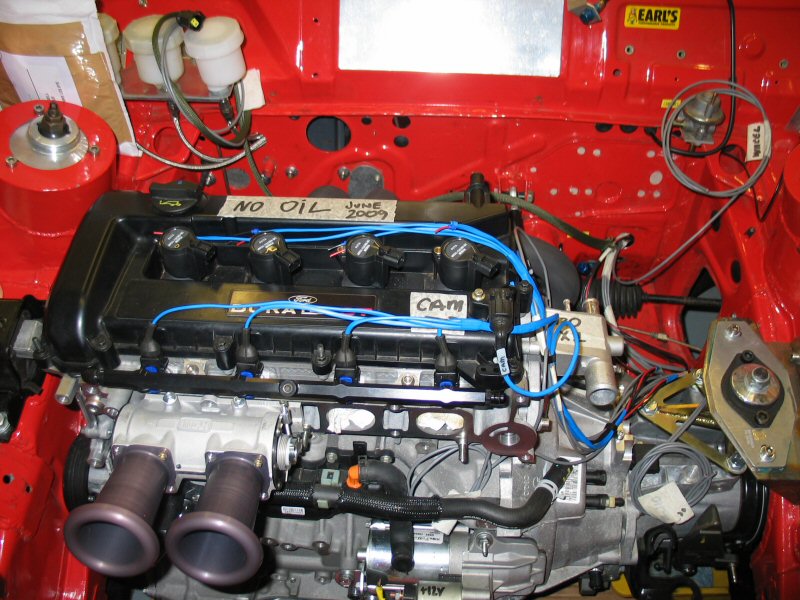
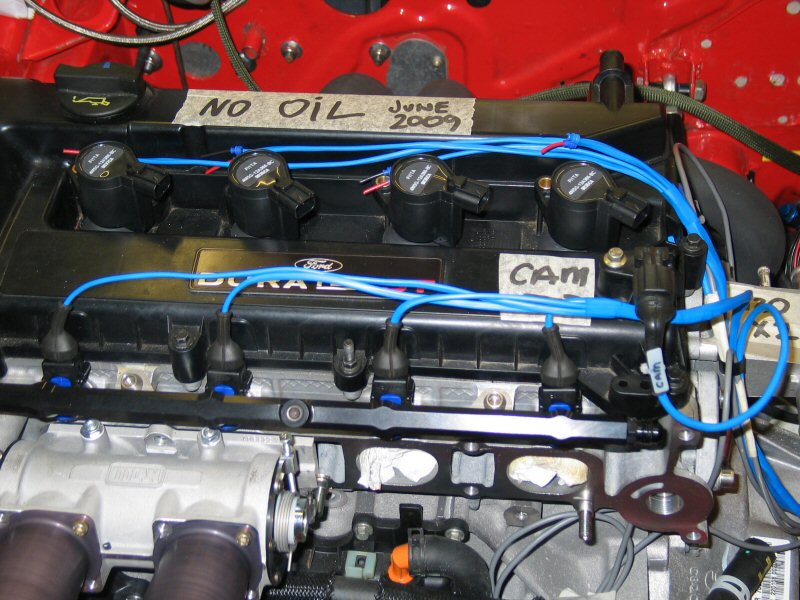
This month the slam panel was completed and fitted using stainless steel quick release catches. I solved the clearance issues with the oil filter housing were solved, by fitting a Eurospeed (Australia) oil filter housing plate. I also bought a set of Coil On Plug gizmos, from Coordsport. These allow me to remove the ignition coil and plug leads, as the COPS sit on top of the spark plugs. I also mounted the DTA S80Pro in the car, using M3x20 fasteners and a pair of aluminium brackets I made from the angled aluminium bought in May. Oh and I bought a set of PICO injectors, only to realise that the Duratec doesn't use PICOs. So they've been sent back for a refund.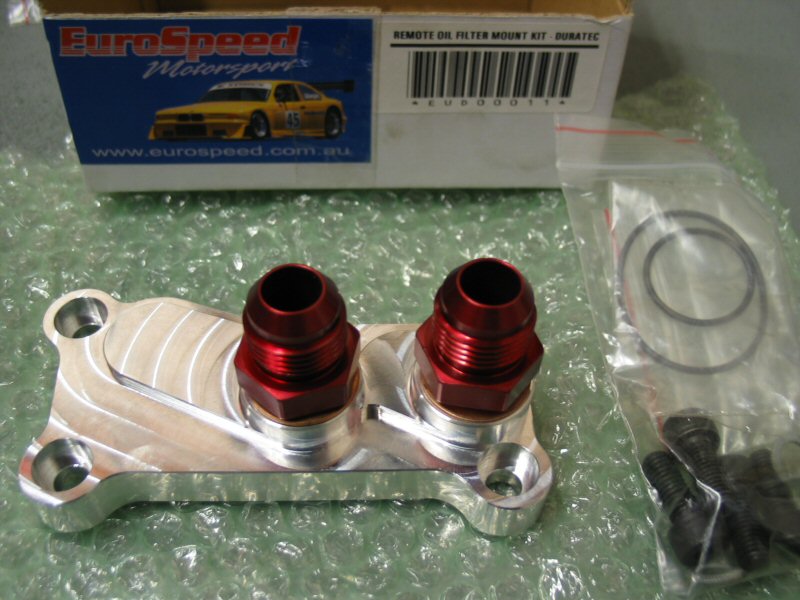


July 2009
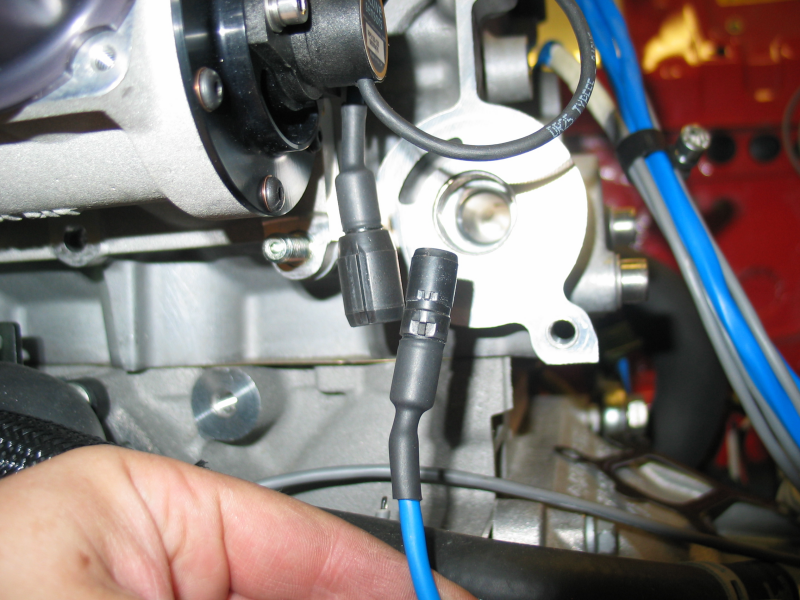
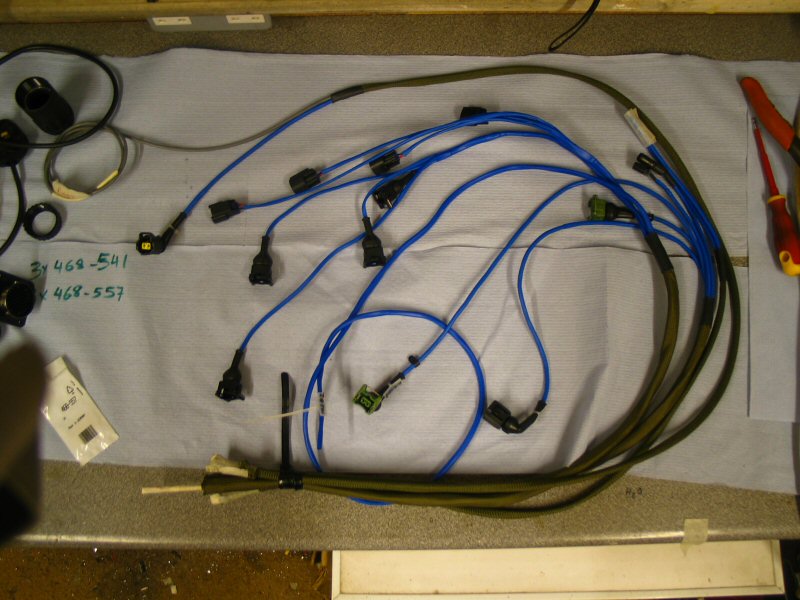
This month I sorted out the Throttle Position sensor, and started on the engine bay loom.
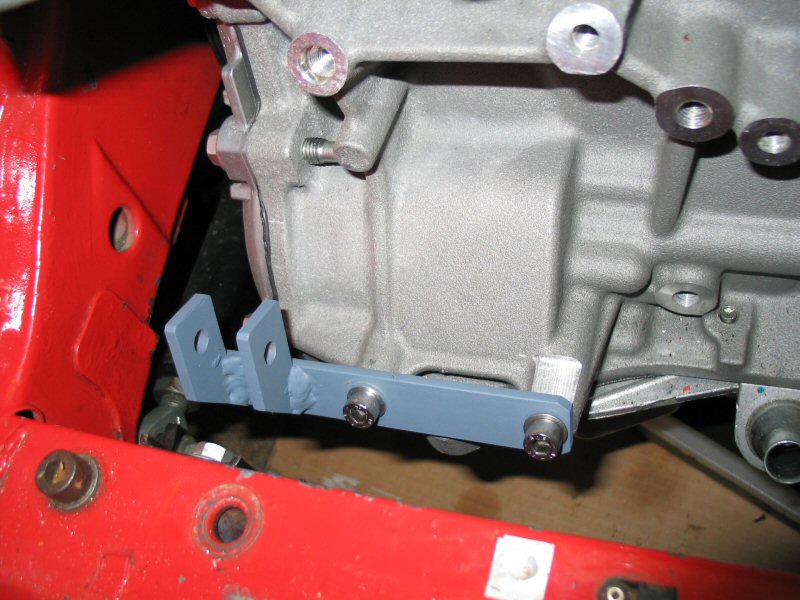
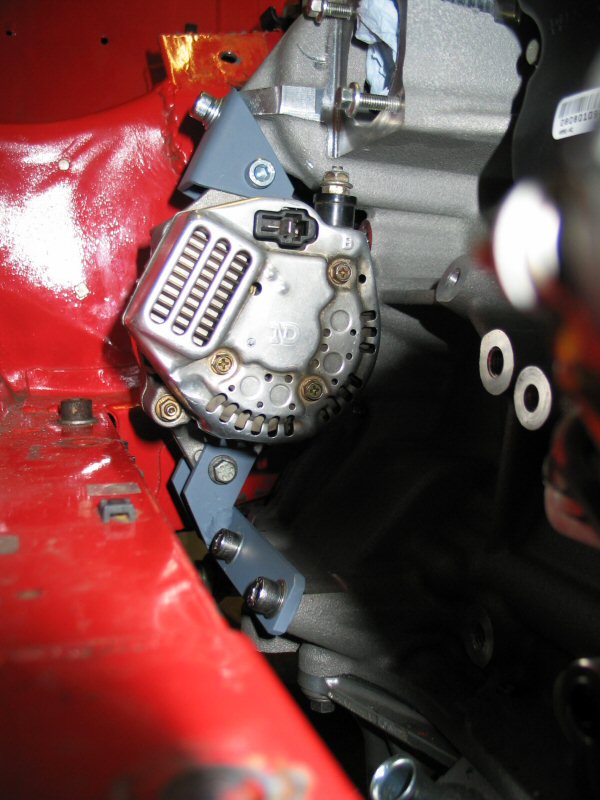
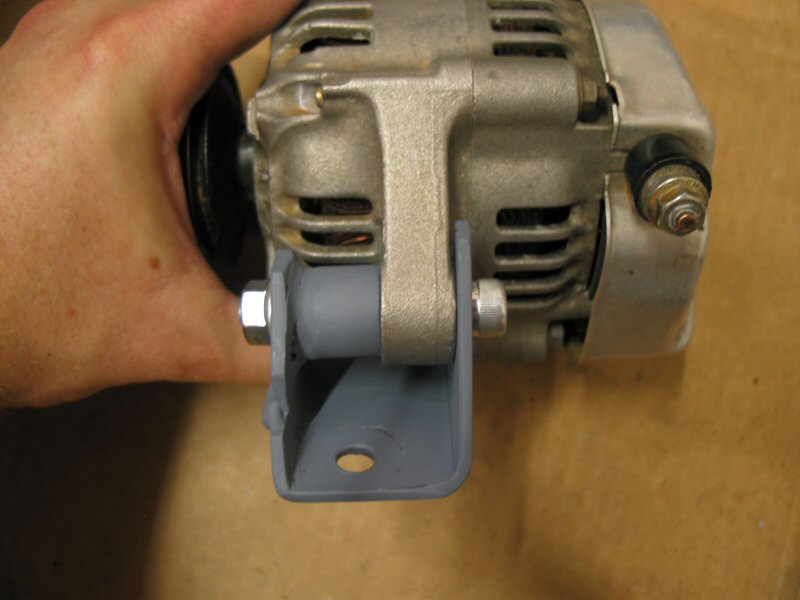
August 2009
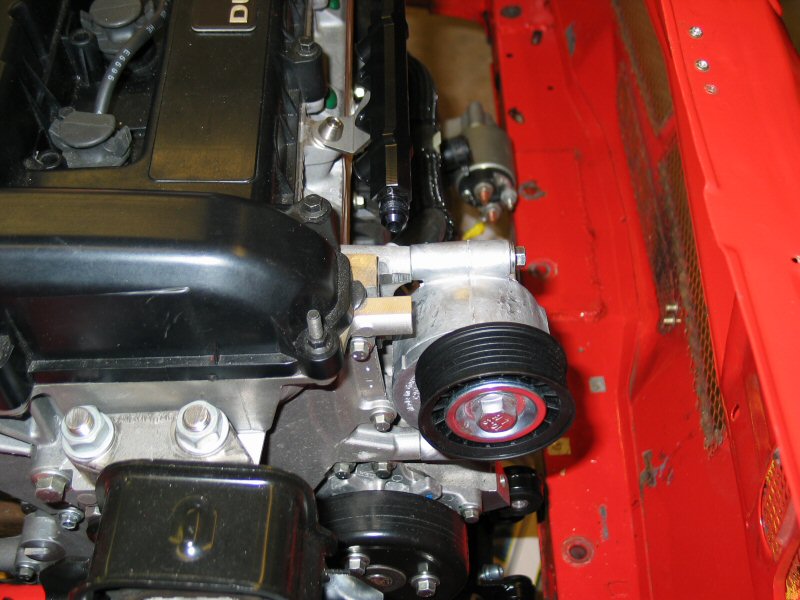
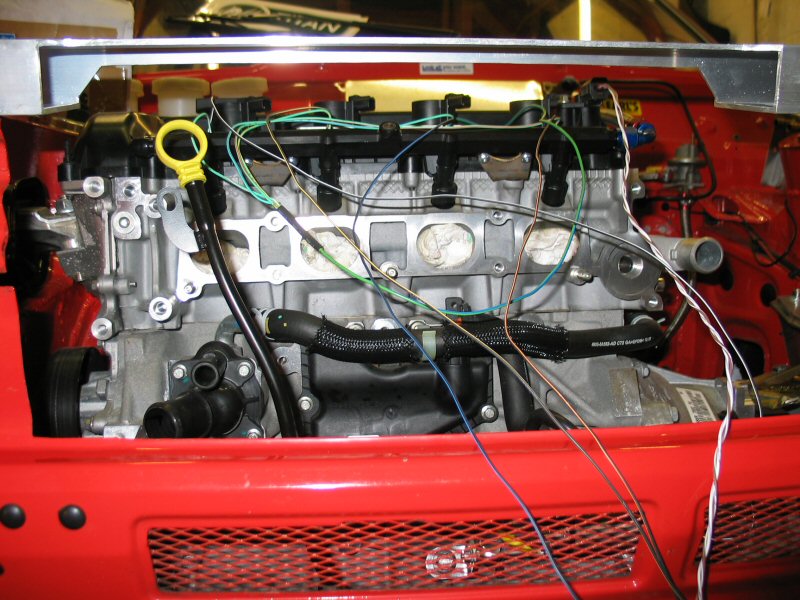
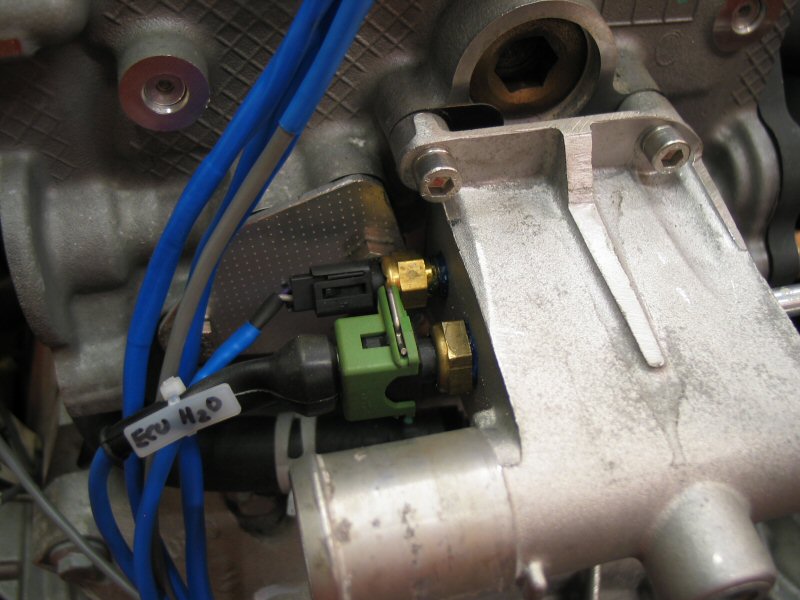
This month I finished off the Alternator brackets, and made more progress with the engine bay wiring loom. And I identified and fitted a 4PK1260 drive belt on the engine. And I drilled and tapped the water outlet housing, to take two 1/8 NPT water temperature sensors.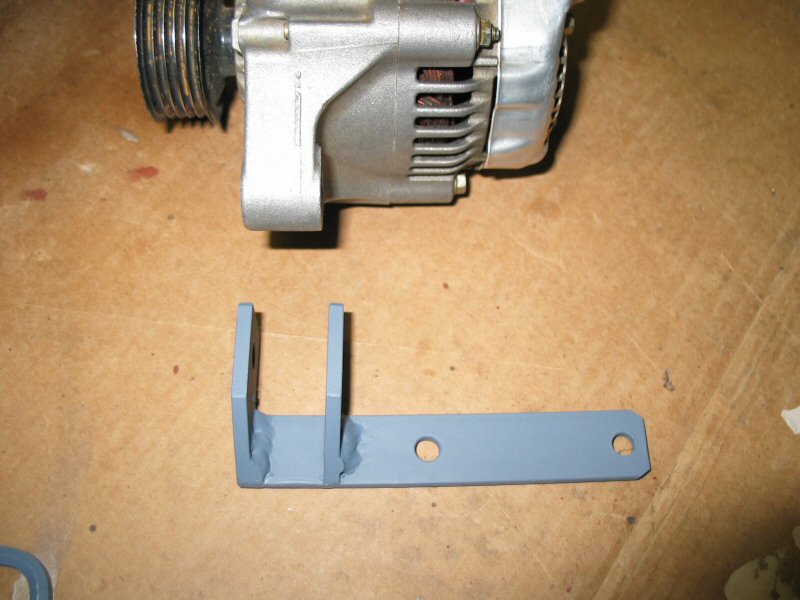


September 2009
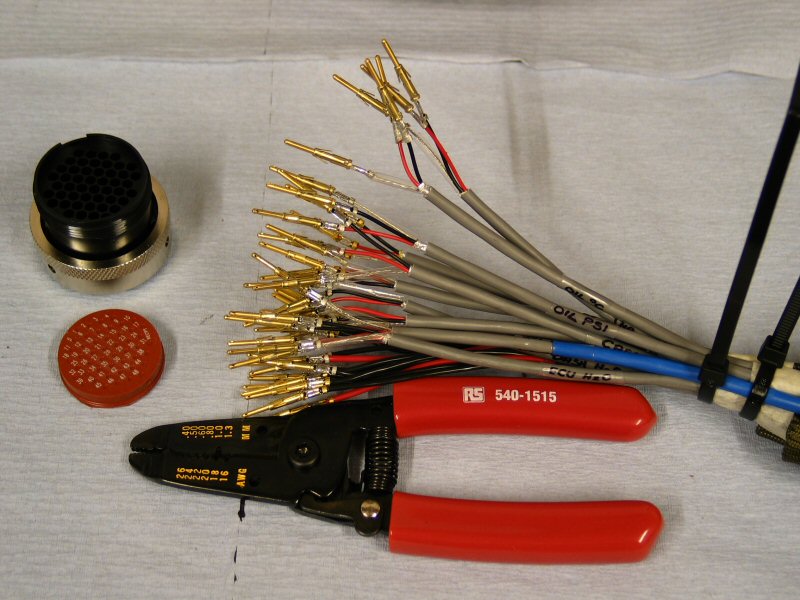
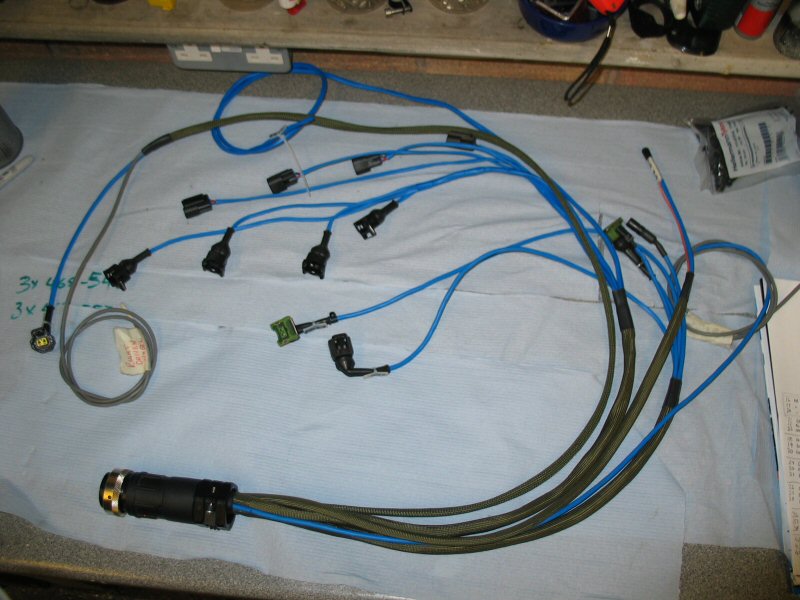
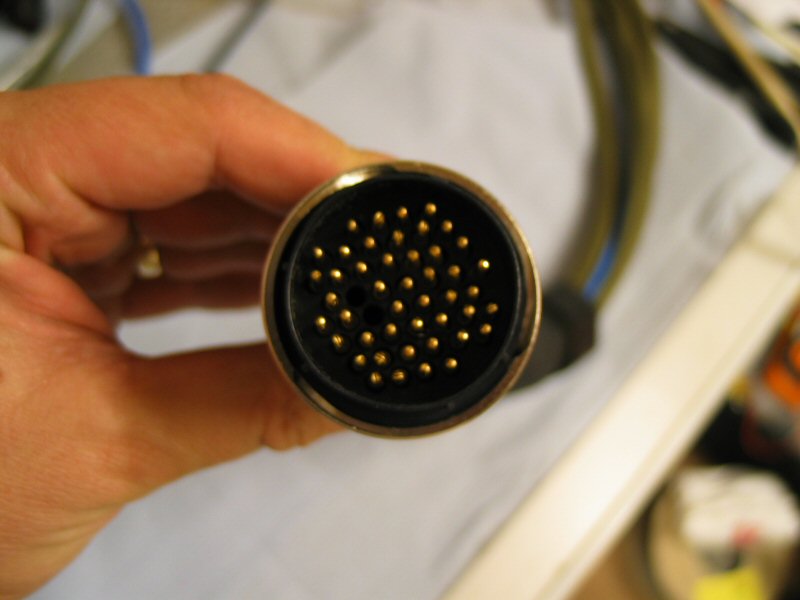
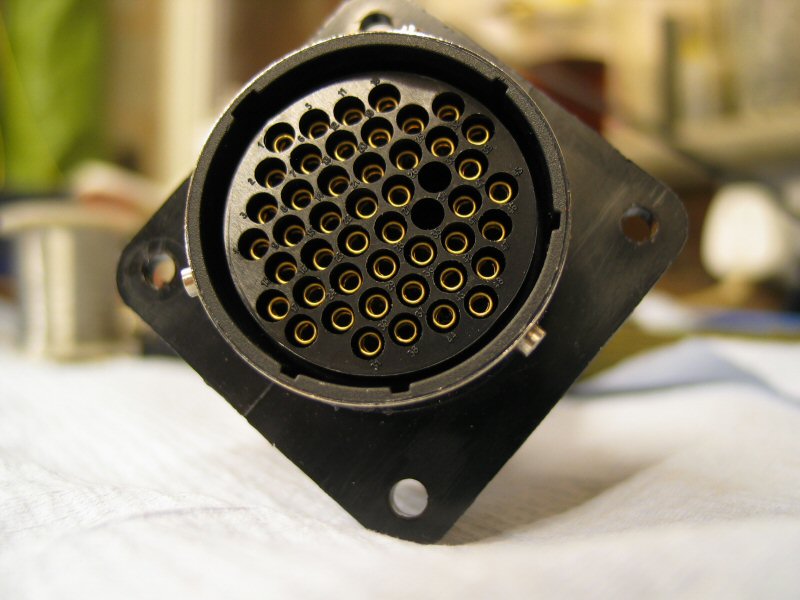
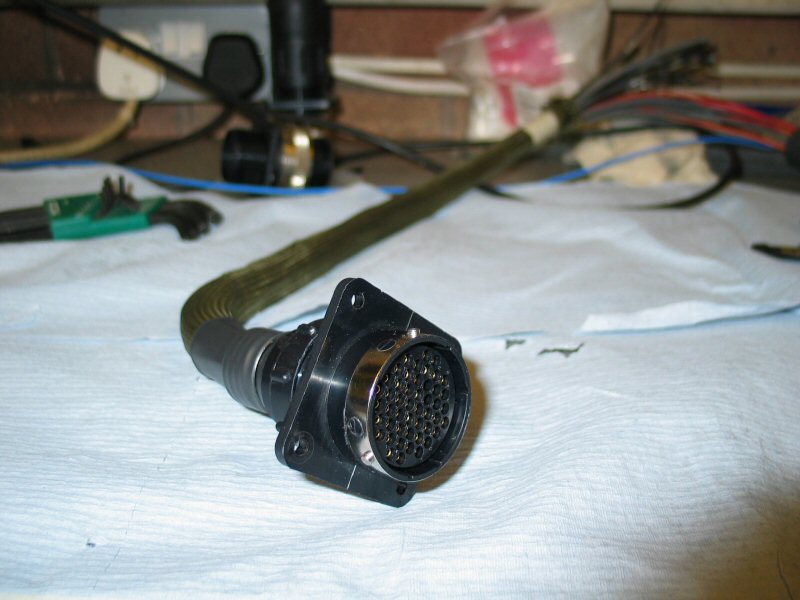
This month I finished the engine bay loom, with 45 of the 48 pins used in the ITT Canon connector.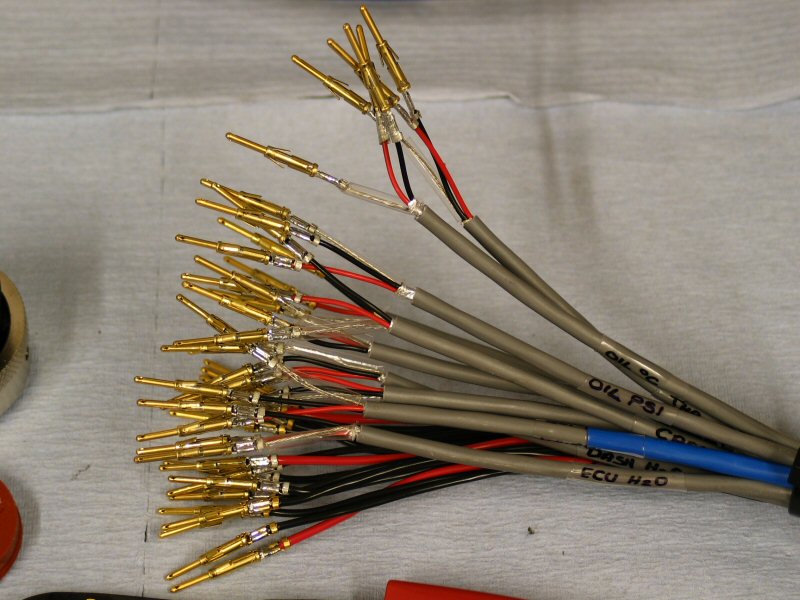


October 2009
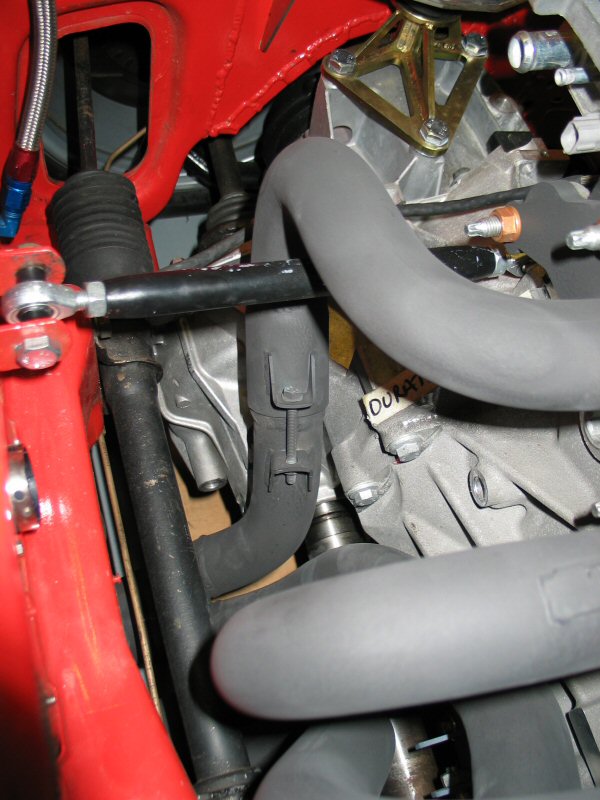
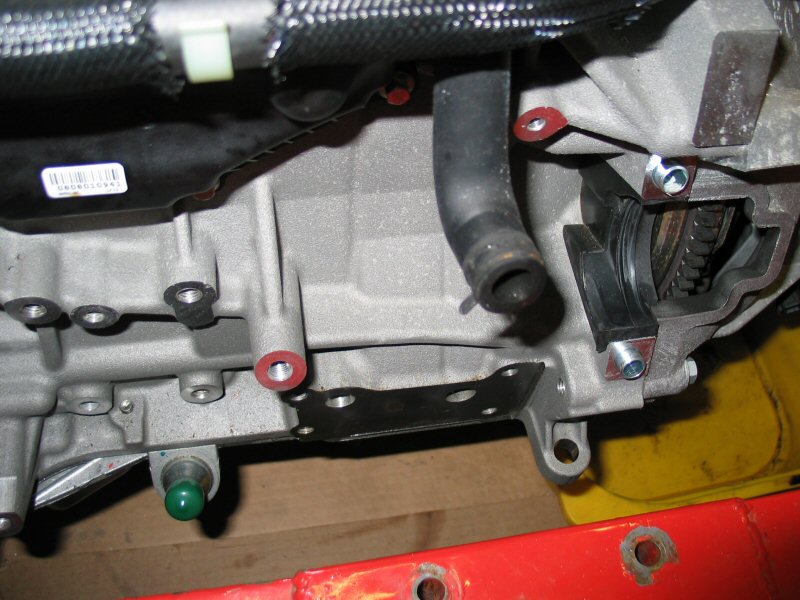
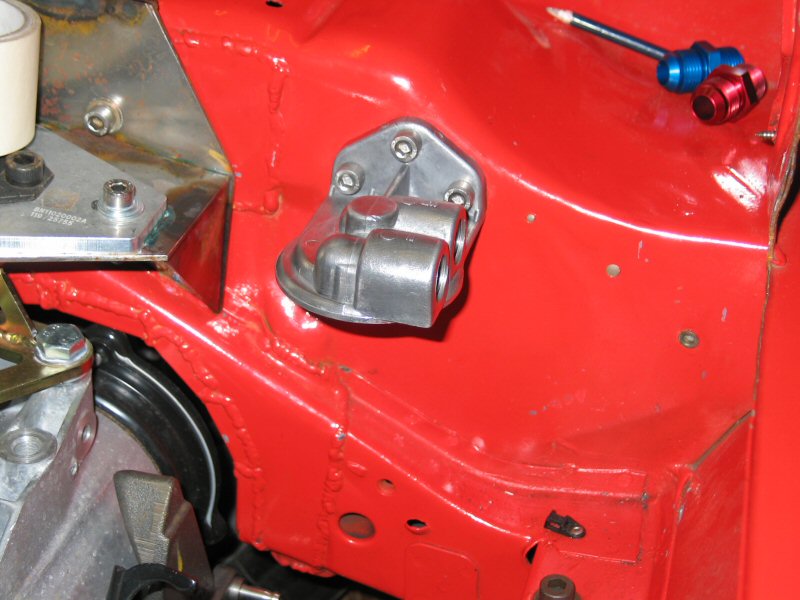
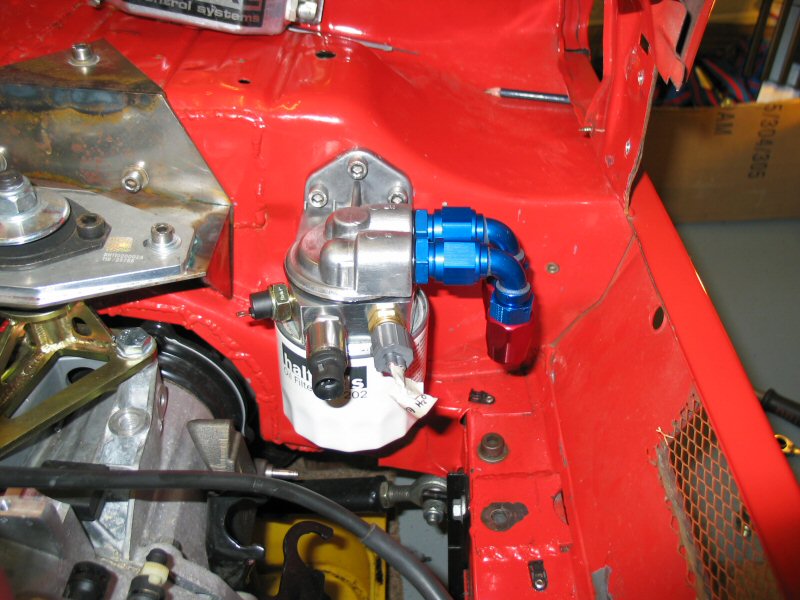
This month I plumbed in the oil filter housing, and modified the sandwich plate to take the oil temp, oil pressure, and low oil pressure switch sender units.

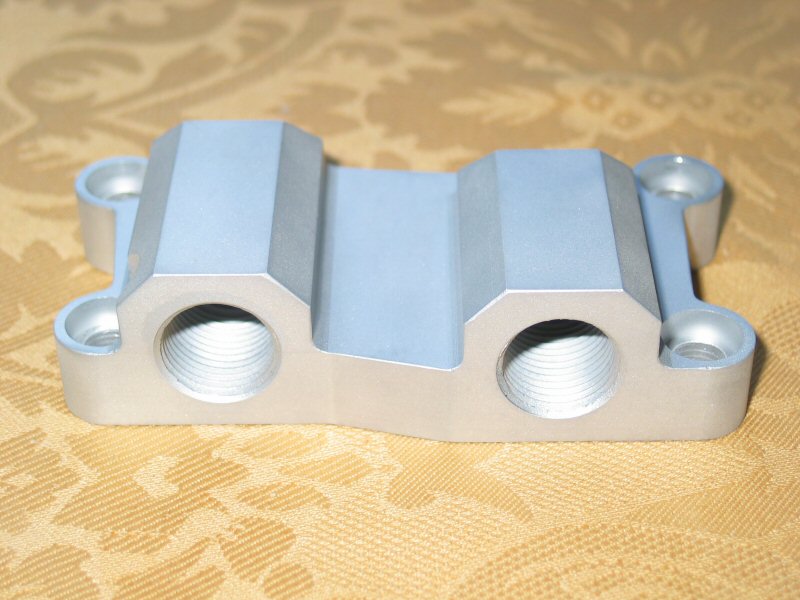
November 2009
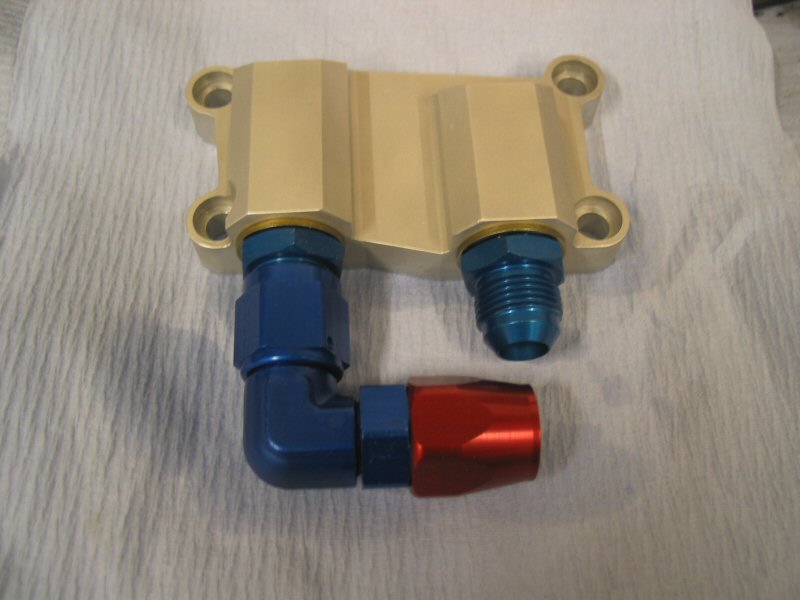
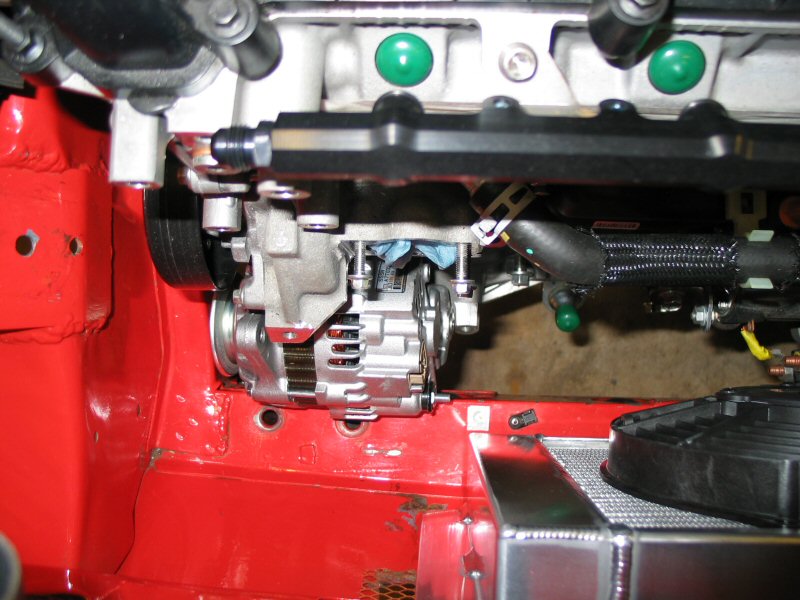
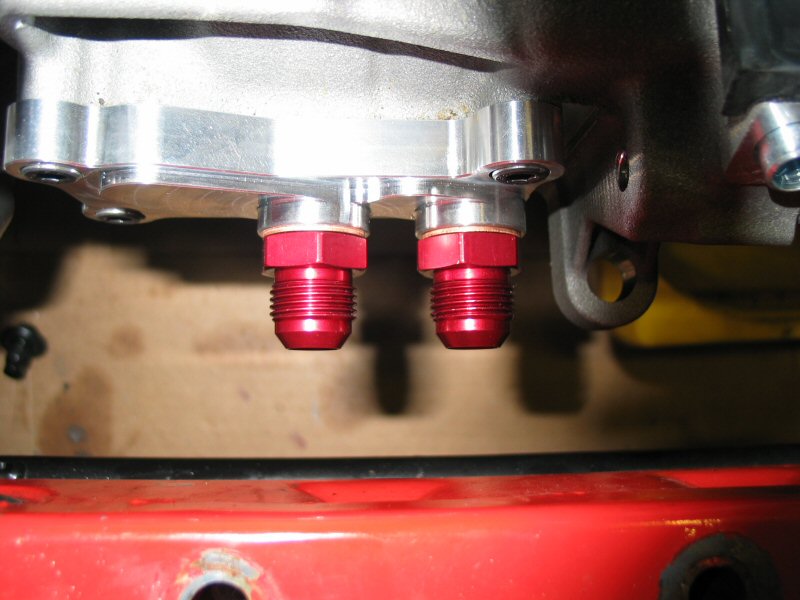
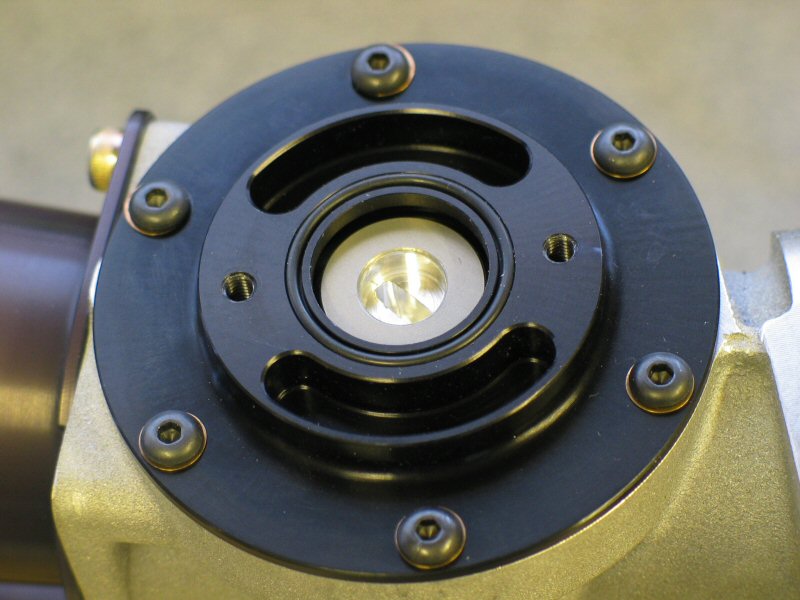
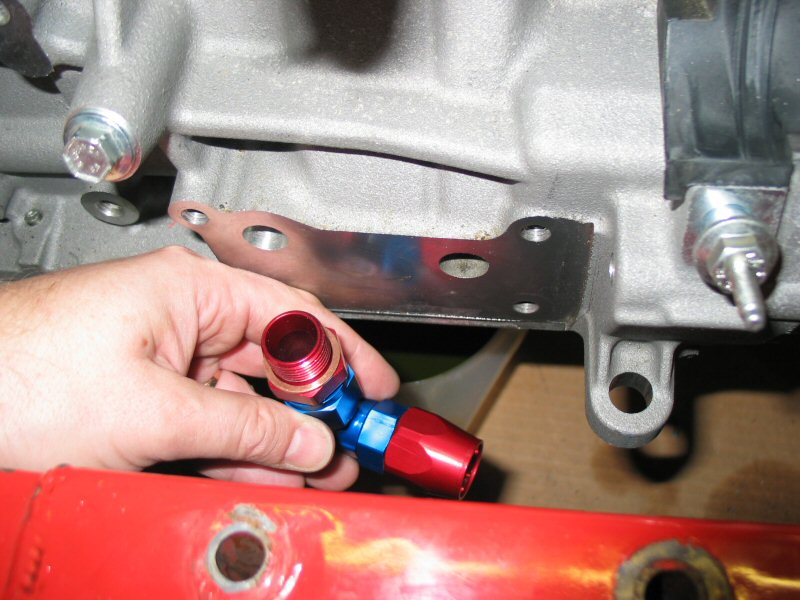
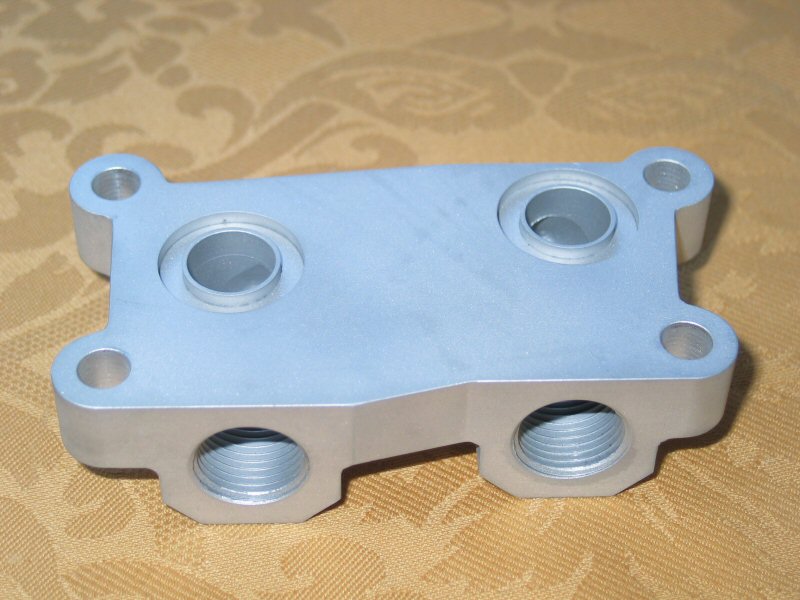
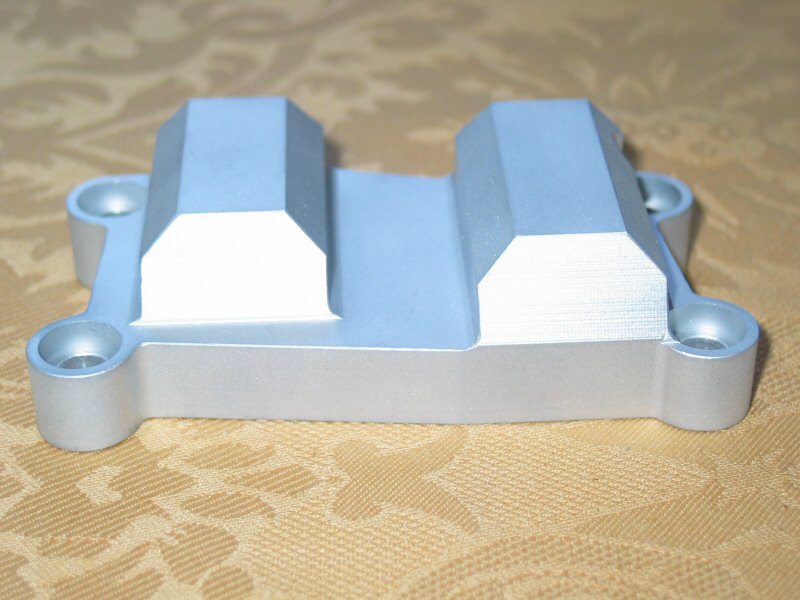
This month I've been busy wiring the car, and the Zetecinside oil adaptor for the Duratec block, finally turned up from BR & D Engineering in W.Sussex, UK. The adapter plate was drawn in SolidWorks by Karl Hacken in the USA, according to my fag packet design, specifically for my Fiesta install. If you want to get an oil adapter plate for your engine, get in touch and I can sort one out for you. The adaptor features 1/2 BSP threads and I've used 1/2 BSP to -10 adapters, from Earls.co.uk. It also requires a pair of BS209 "Viton" O-Rings, which are available from Brammer (UK). The O-Rings seal the adapter plate against the block face.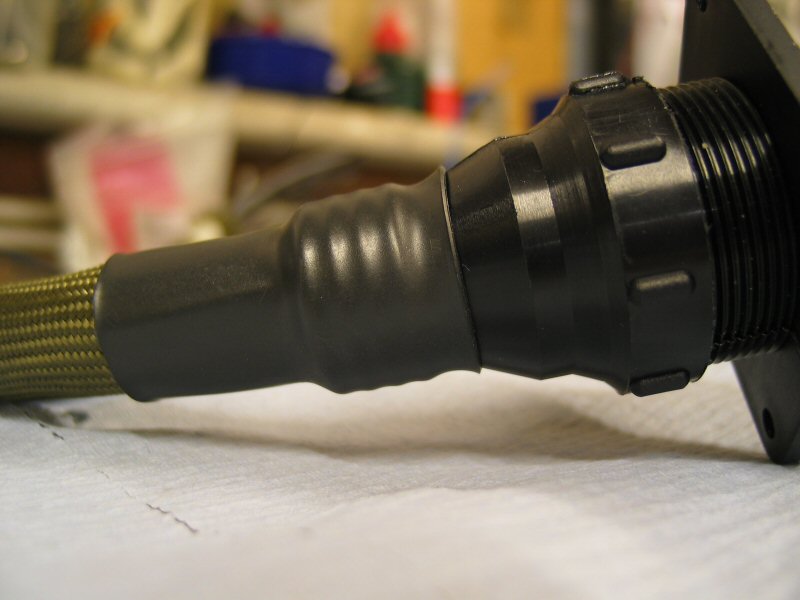
December 2009
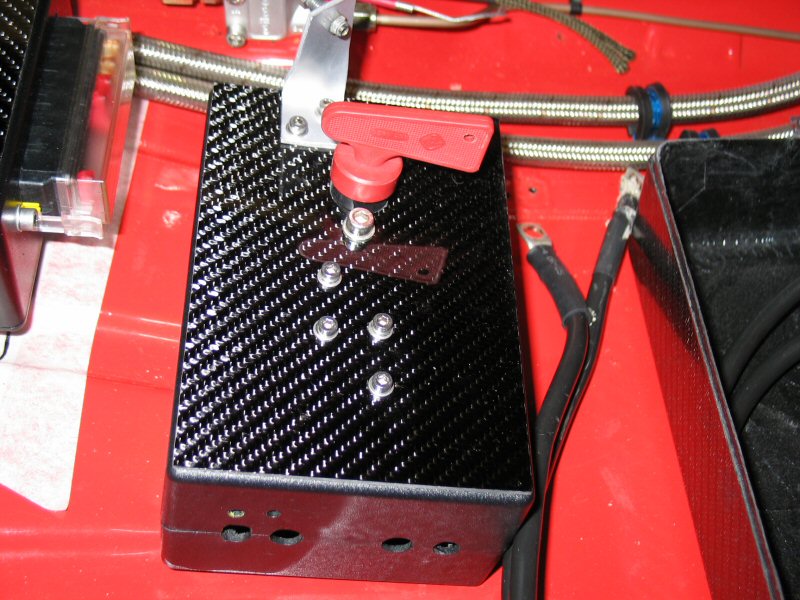
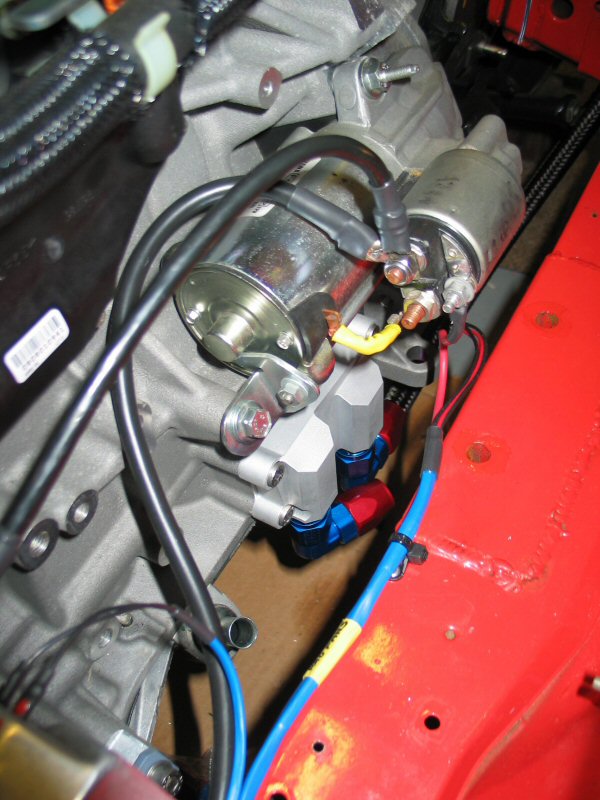
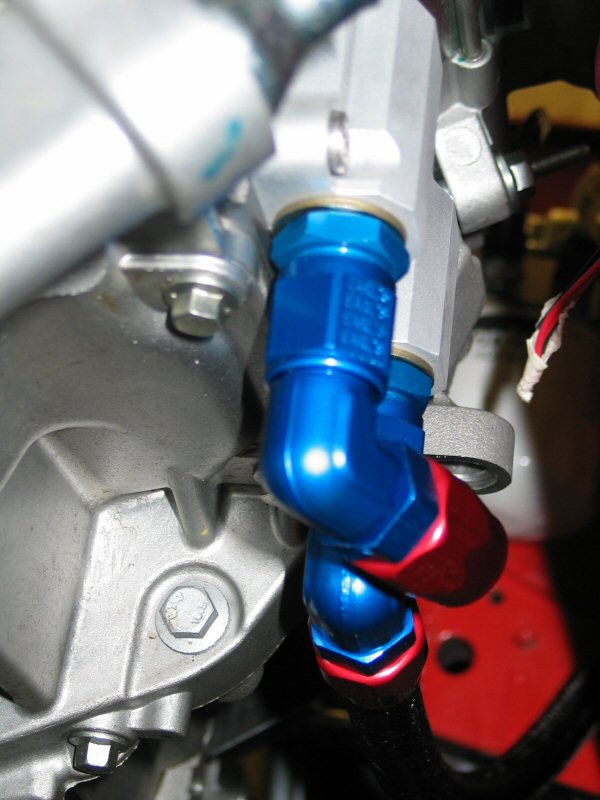
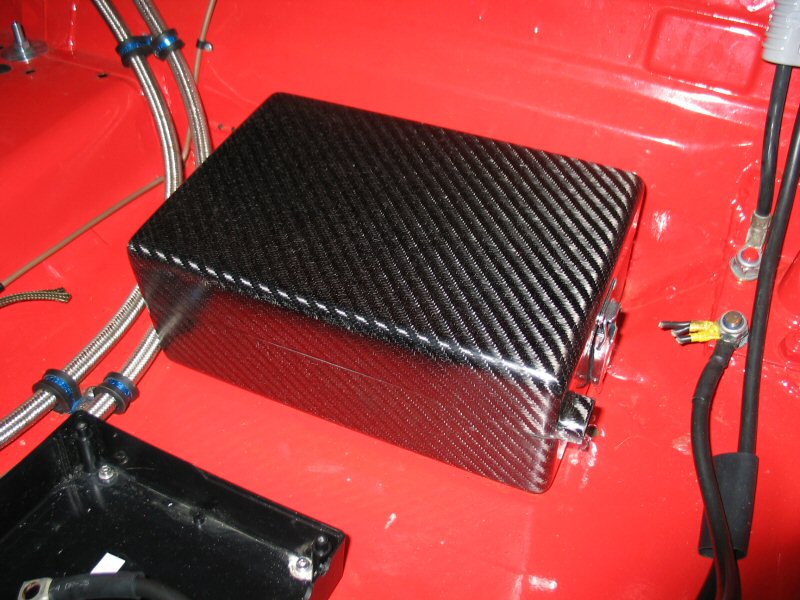
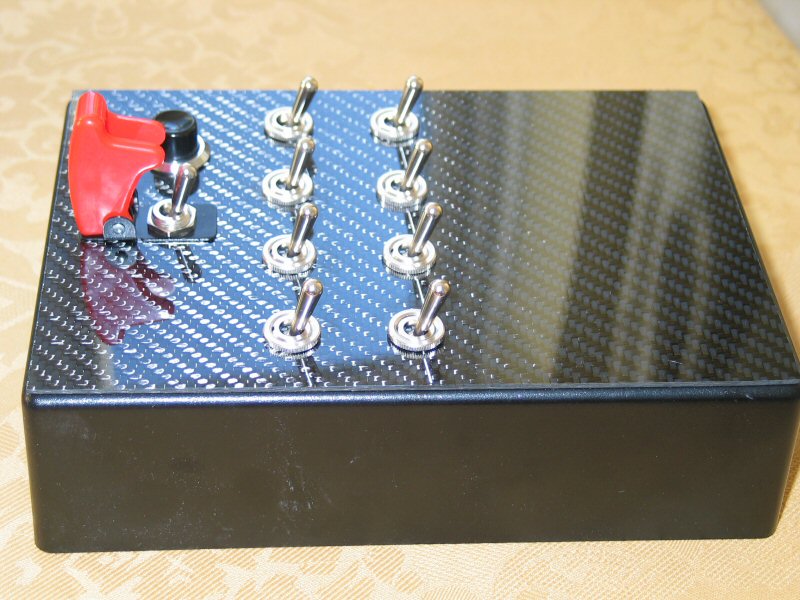
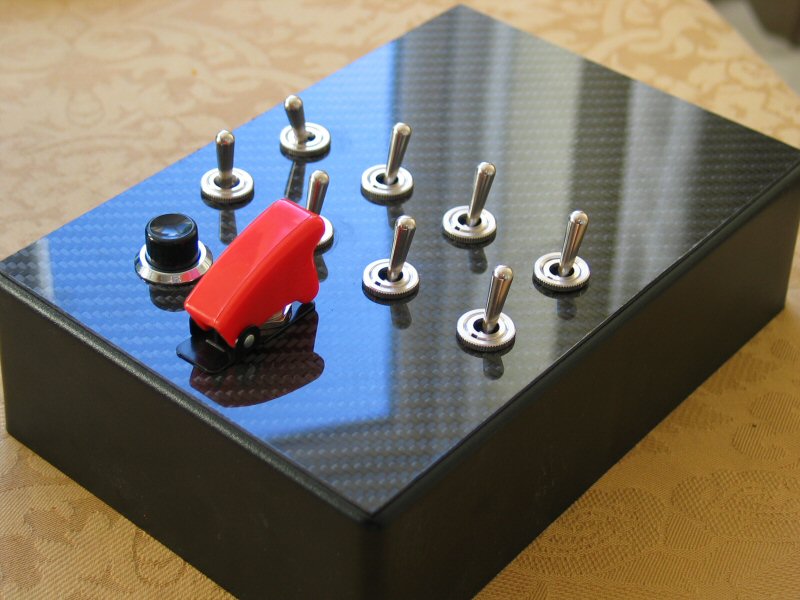
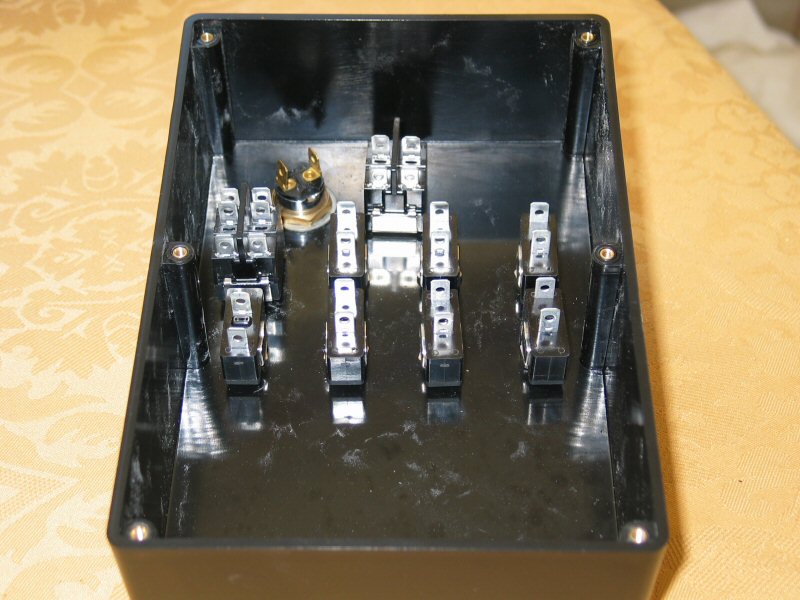
This month I fitted the Zetecinside Duratec oil adapter plate, with fittings, and made up the hoses to connect the block to the remote oil filter housing. I've also finished the control box which contains all the electronics that controls the relays for the ECU, and houses all the fuses for the various circuits within the car. I've used 1.8mm carbon sheet on the top of the control and isolator boxes, for that professional touch.