Electrics - Page 5
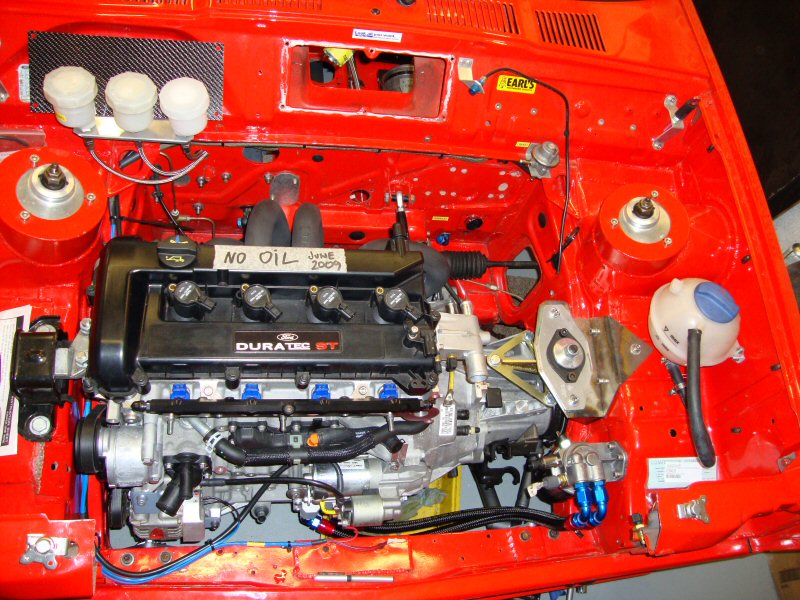
LastFitting an alternator to the 2.0 Duratec engine
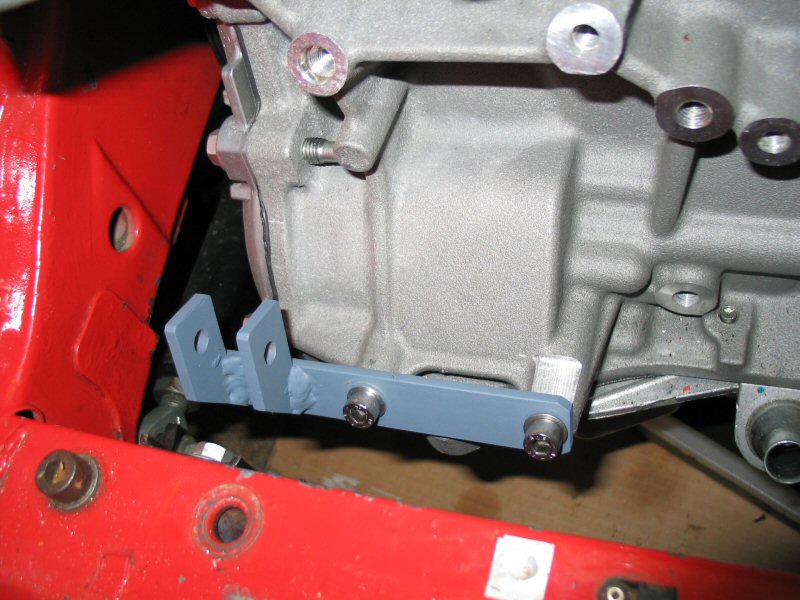
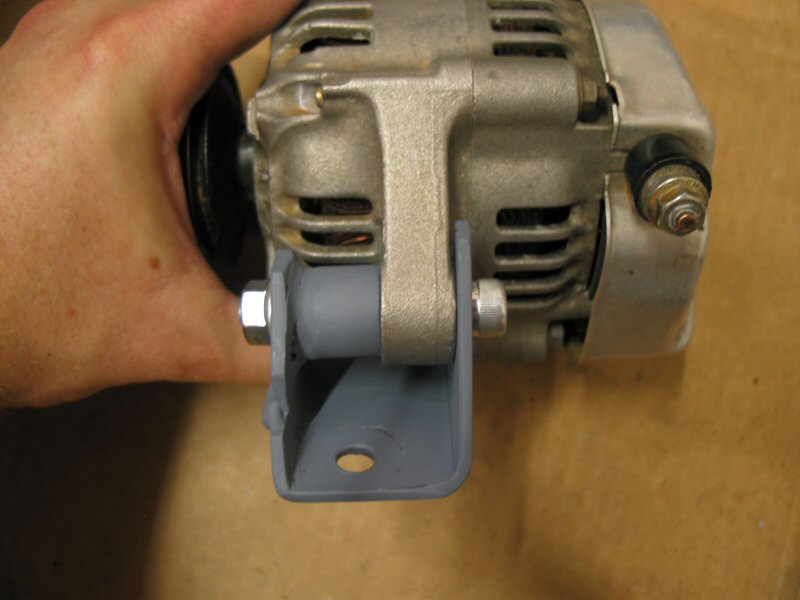
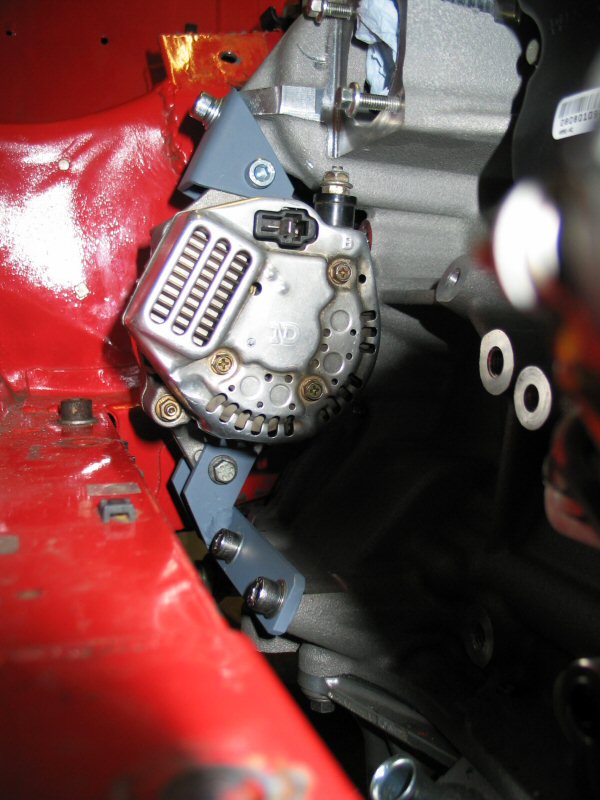
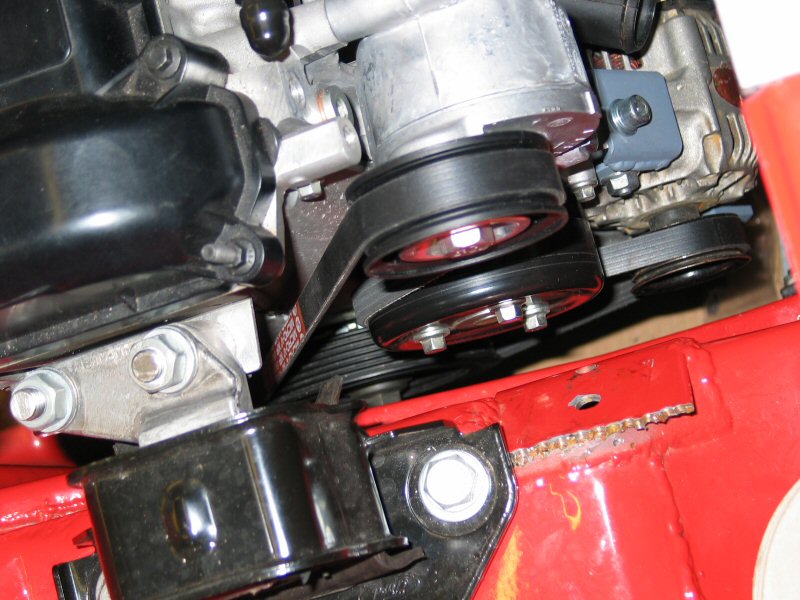
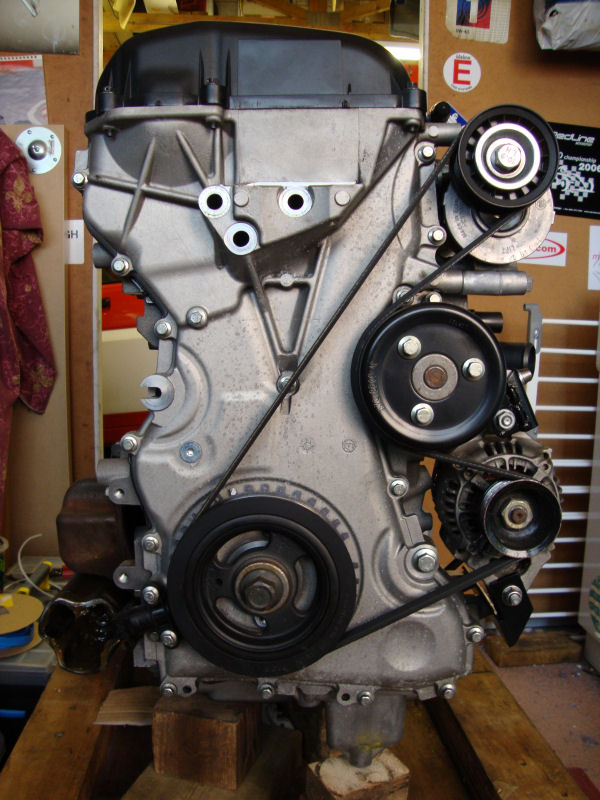
After trying the brackets from Raceline and Cosworth, neither of which gave sufficient room to fit an alternator, I made my own alternator brackets. Its not that they didn't fit the engine, which they both did. I simply didn't have any room to fit anything other than the Brise 49A alternator, so I mocked up a template in cardboard, transferred the dimensions to a strip of 5mm steel, and set about welding it up. Once I had the alternator bolted securely in place, I measured the length of the belt required, and bought an 4PK1260 drive belt from Halfords. I'm using a Ford C-Max belt tensioner to keep the 1260mm long drive belt at the right tension.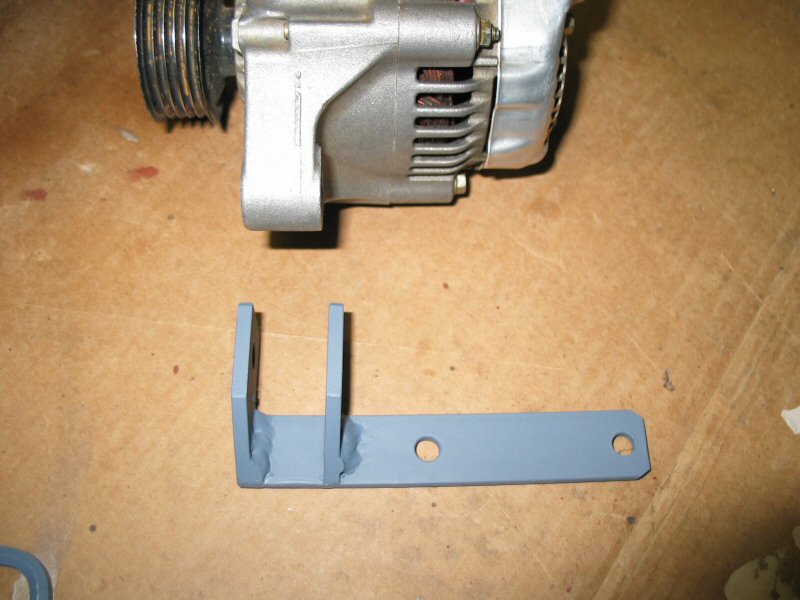


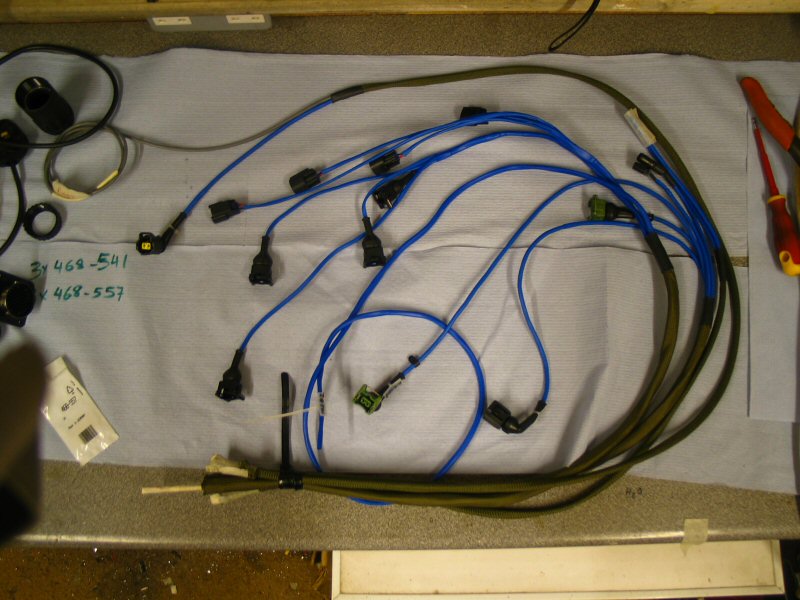
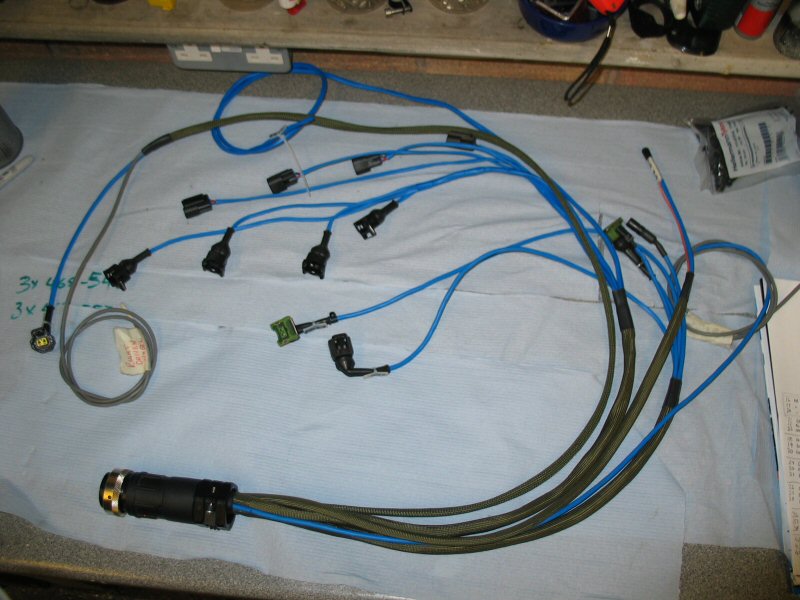
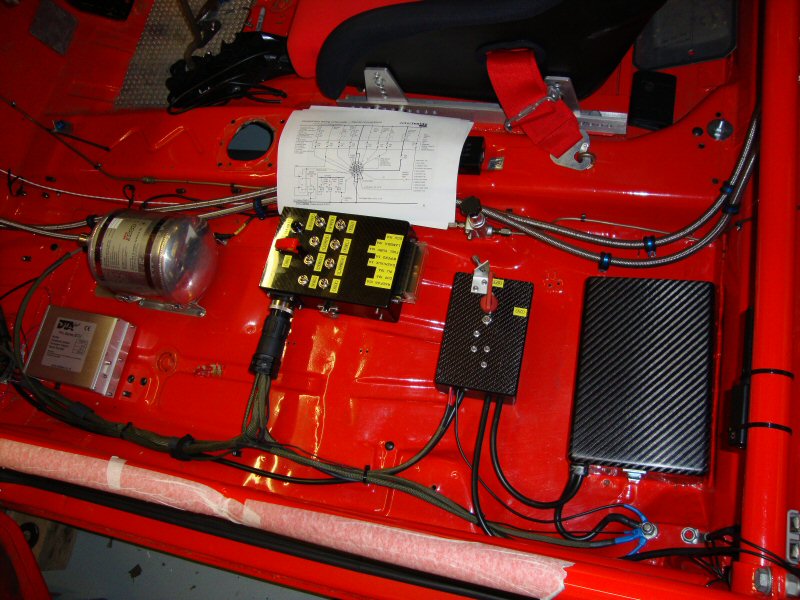
Duratec engine bay wiring loom
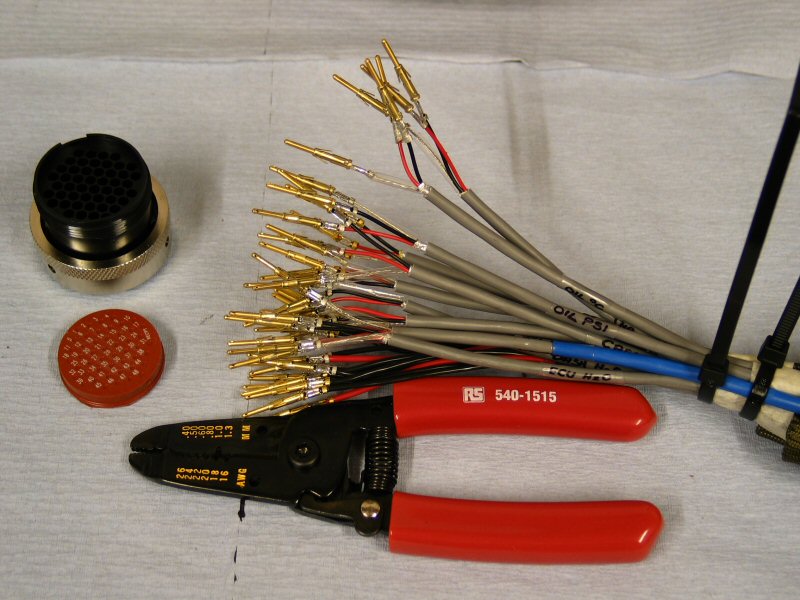
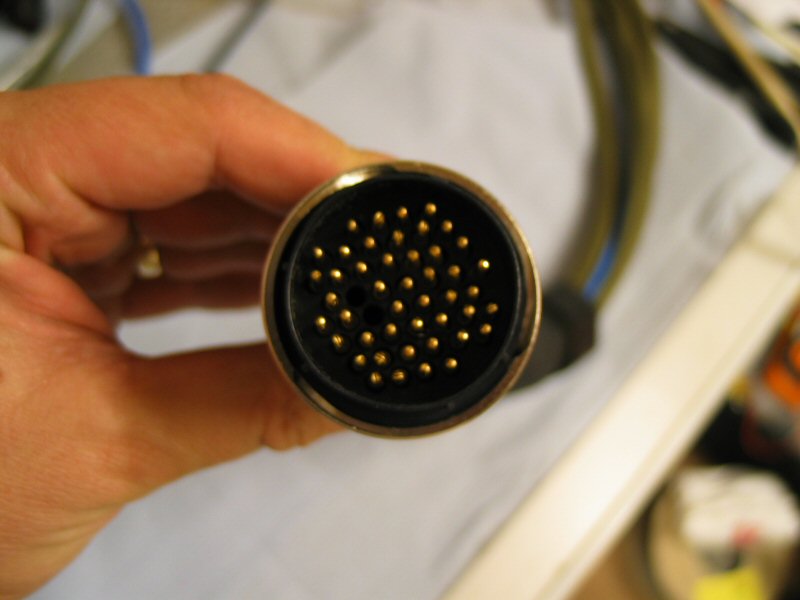
I decided on the Duratec conversion that I would again have a removable engine bay wiring loom. This meant the added complexity of using two ITT Canon Neptune 48 way connectors, male and female, with the female mounted on the bulkhead. But the pay off is that I can remove the engine bay loom in under two minutes, and remove the engine without risk of damaging any of the wiring. Each shielded cable that connects every sensor, has its own earthed shield, with all the earths taken back to a common Sensor Ground at the ECU. This is a bit overkill, as most sensors work adequately well with just twisted pair cabling, but I wanted to rule out the possibility of any interferance in the loom. At the sensor ends of the cabling, the shield is simply left disconnected, with just the power and signal connections joining the sensors.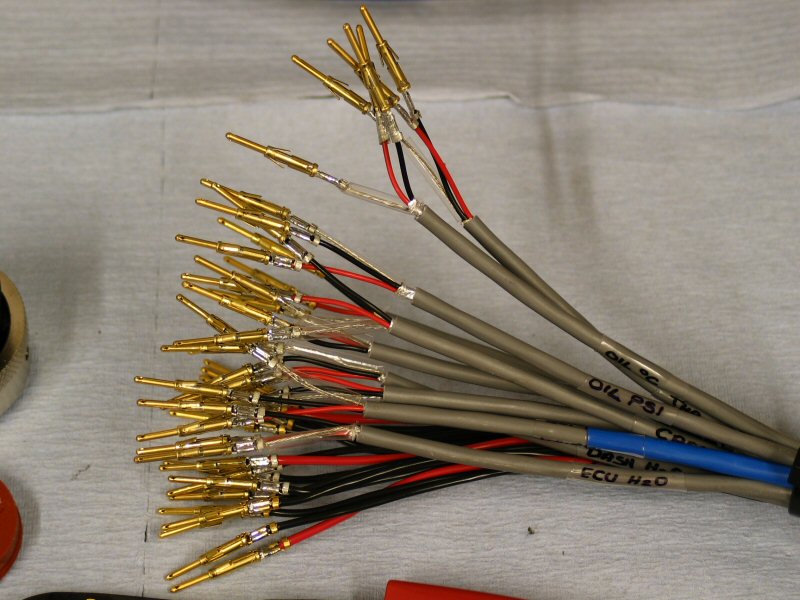


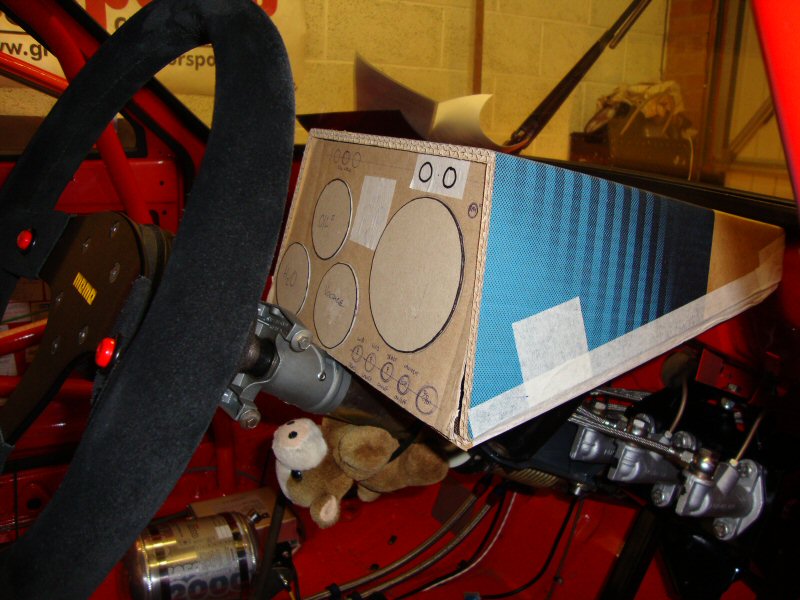
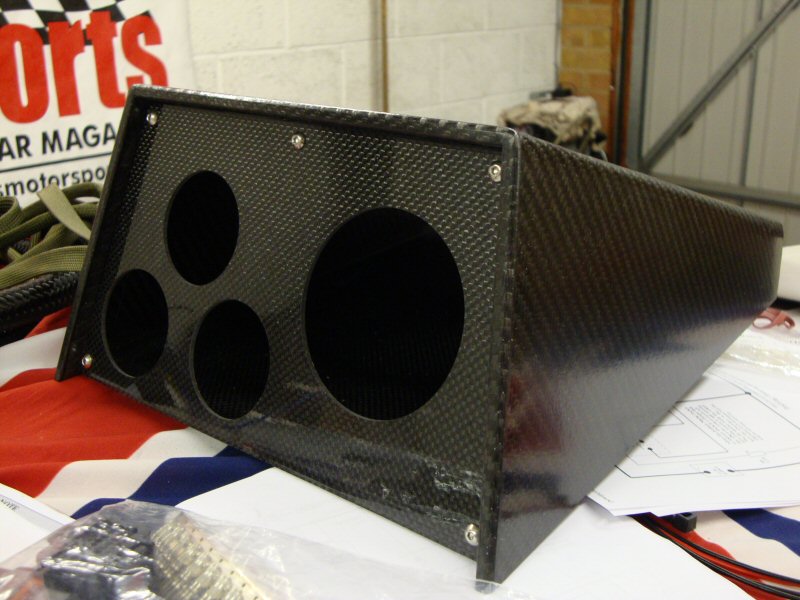
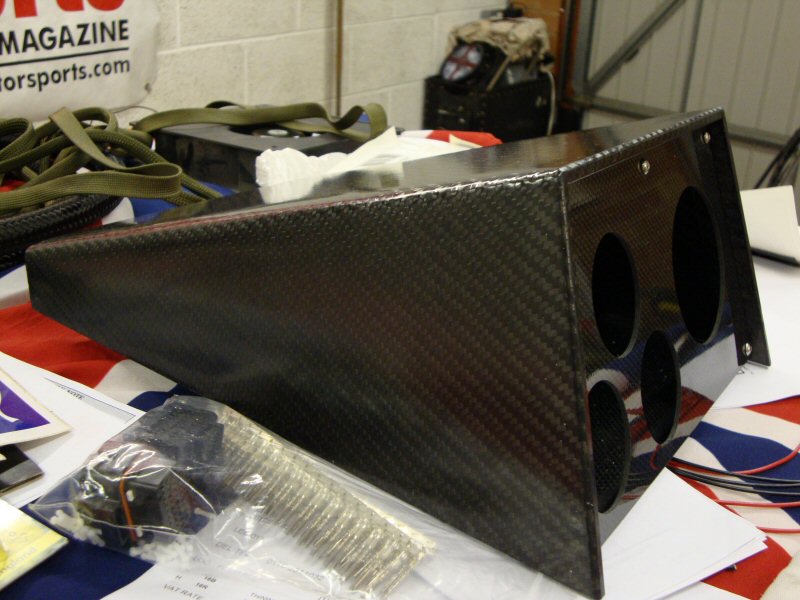
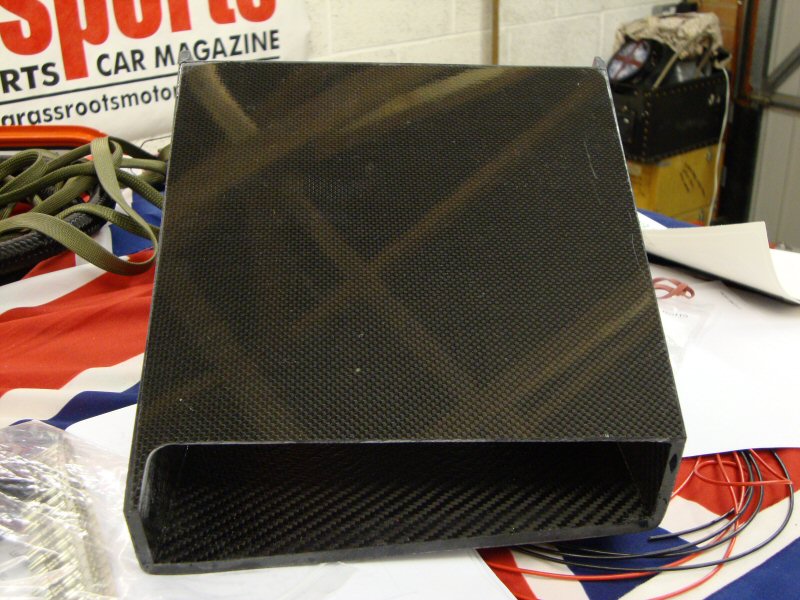
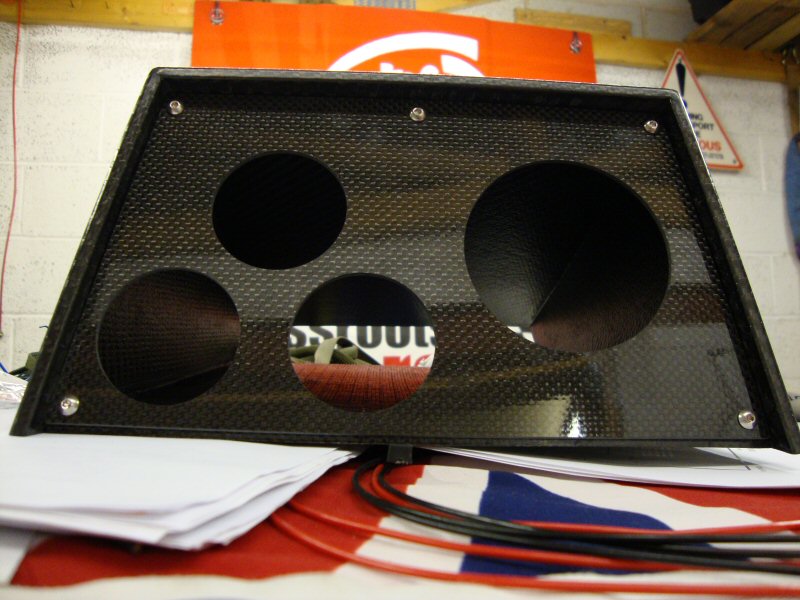
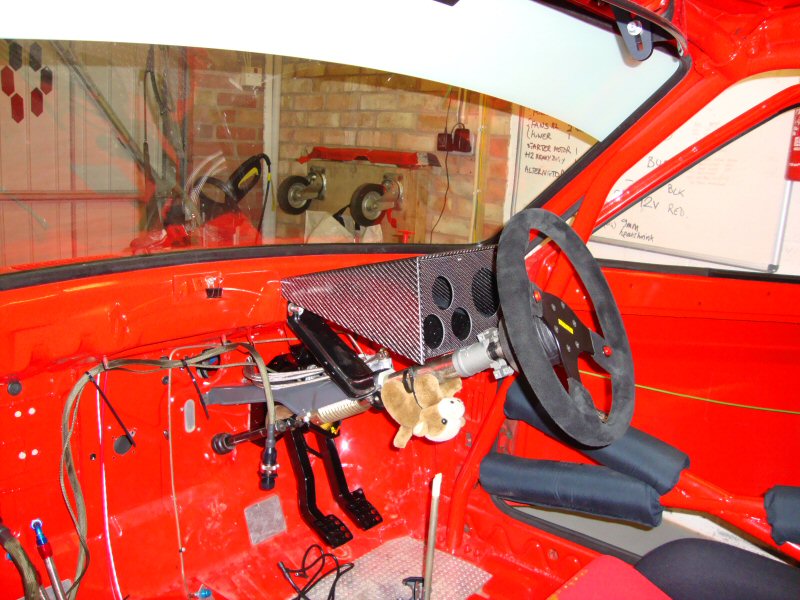
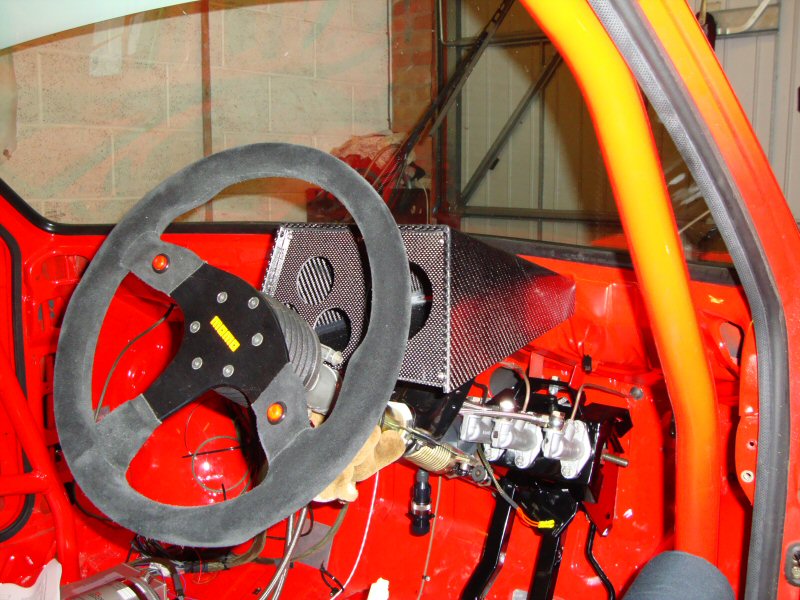
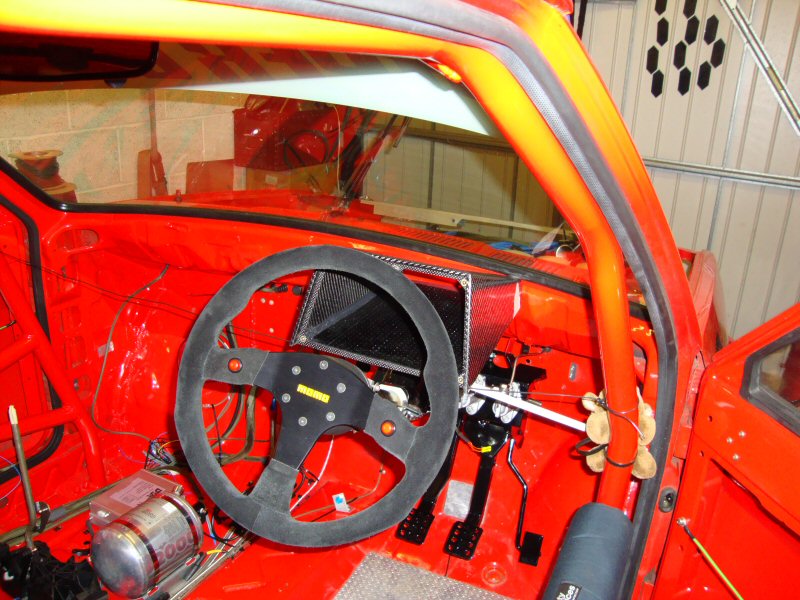
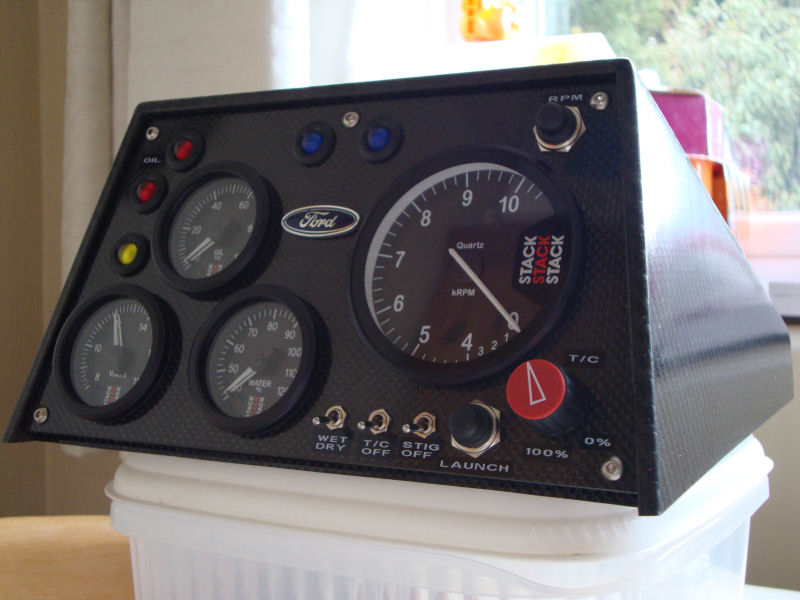
My Duratec Dashboard
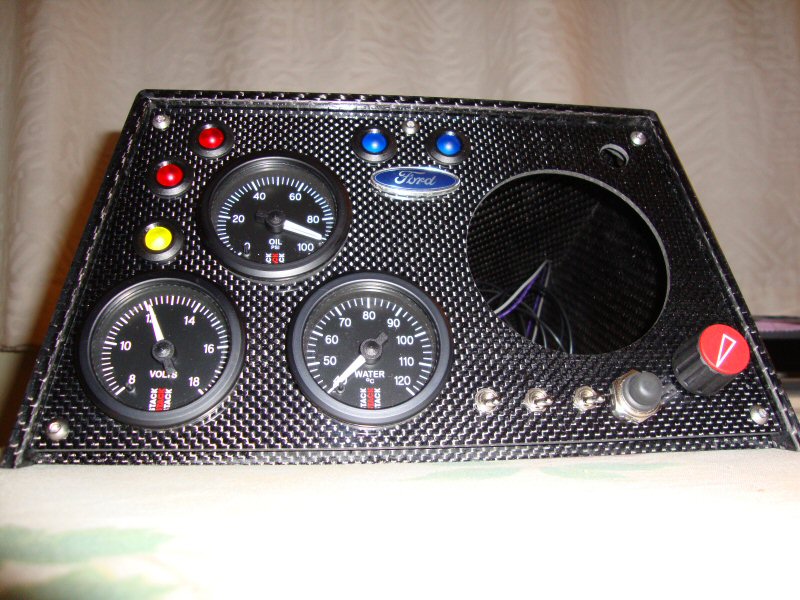
I decided to have a custom made dashboard for the Fiesta, and after a chat with Hansell Composites, I made a prototype out of cardboard, and posted it off for Hansell to fabricate an exact copy from carbon fibre. I'd already decided on Stack stepper motor instruments, and also decided to make the dashboard removable, so another pair of ITT Canon Neptune 19-way quick release connectors was sourced and I set about wiring the in-car loom to use the ITT connectors.The carboard prototype dashboard, with the layout of the instruments on a removable front panel.

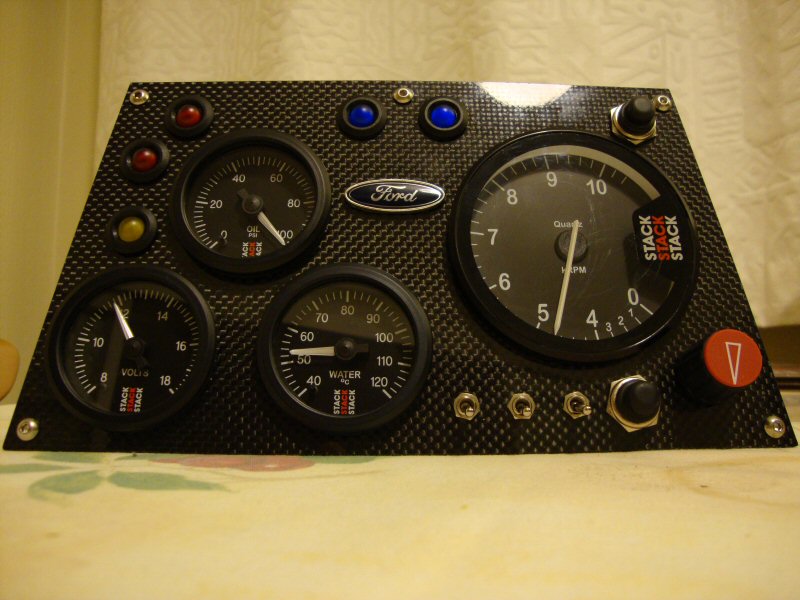
The finished product, Hansell Composites carbon fibre dashboard, unique to my Fiesta.
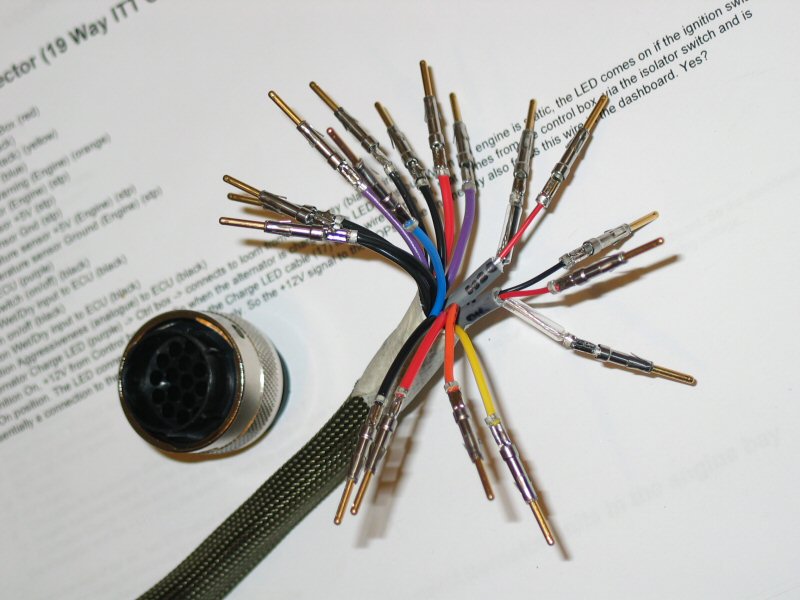
The 19-way ITT wiring loom connector that joins the Duratec dashboard to the in-car loom.

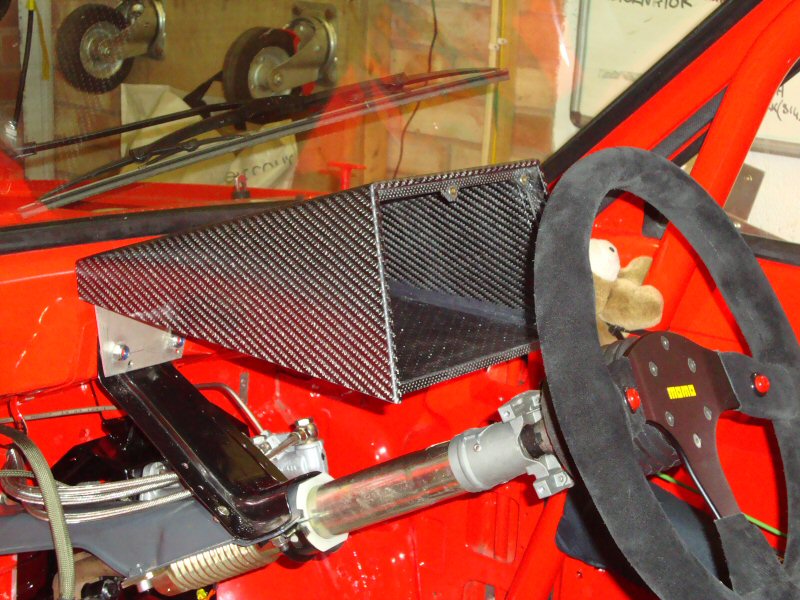
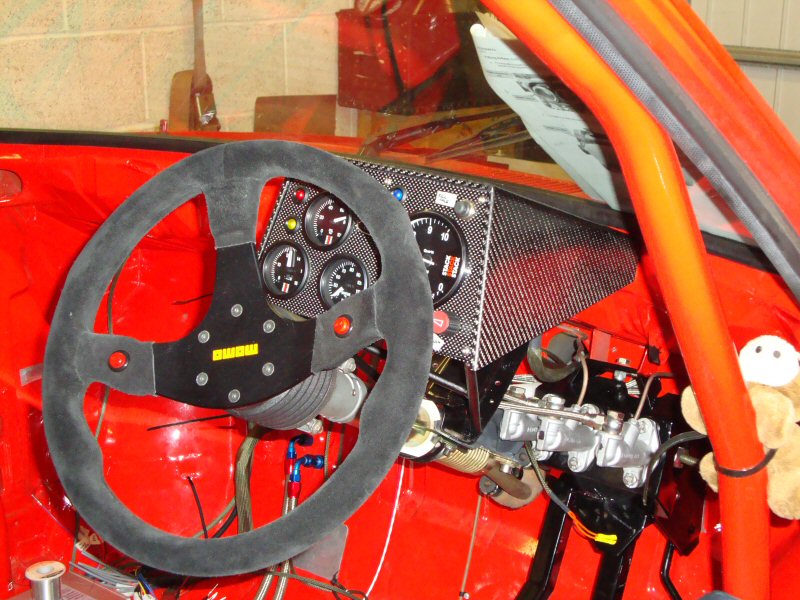
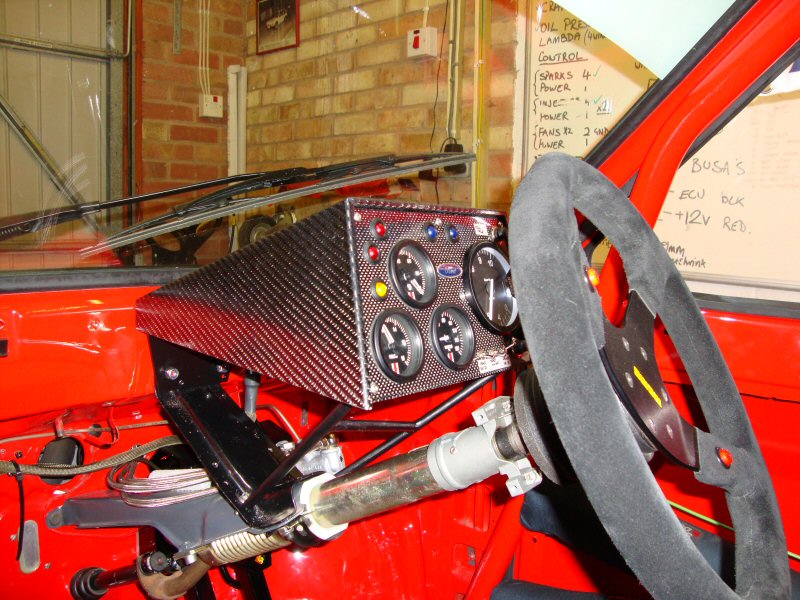
Building the dashboard and fitting it in the car. I made a steady support bracket from some lightweight steel tubing.


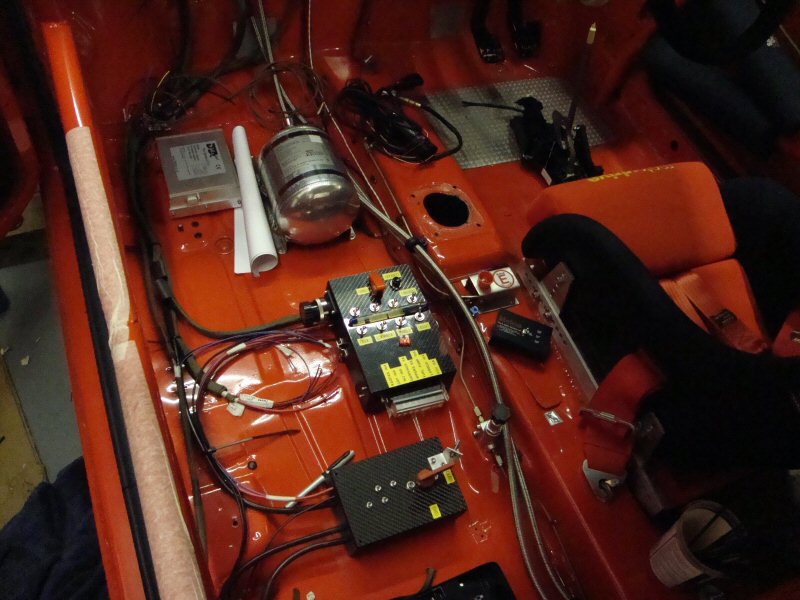
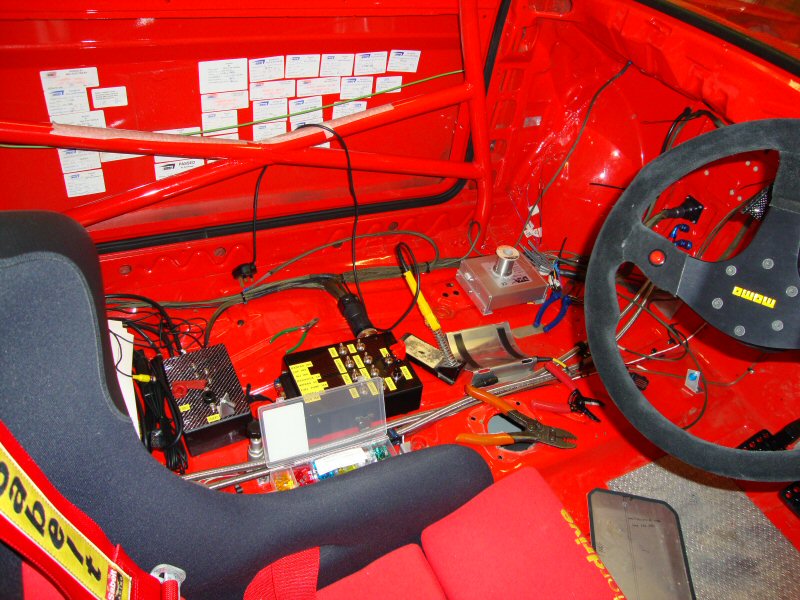
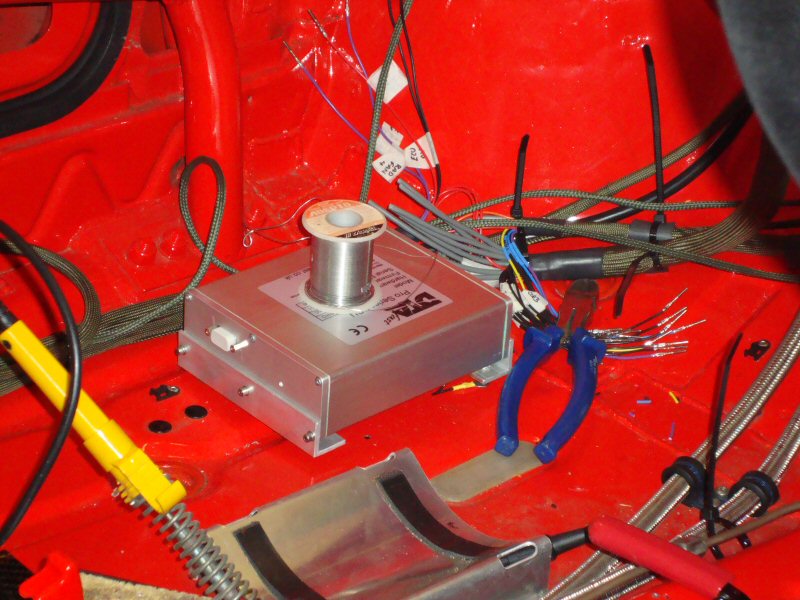
Working on the in-car loom
The heavy duty starter motor and alternator cables which run anticlockwise around the engine bay from the bulkhead (top right) to the front of the engine (bottom left)
Video of the Duratec dashboard booting up for the very first time.