
VW T32 Kombi tow barge
LastOwning and modifying
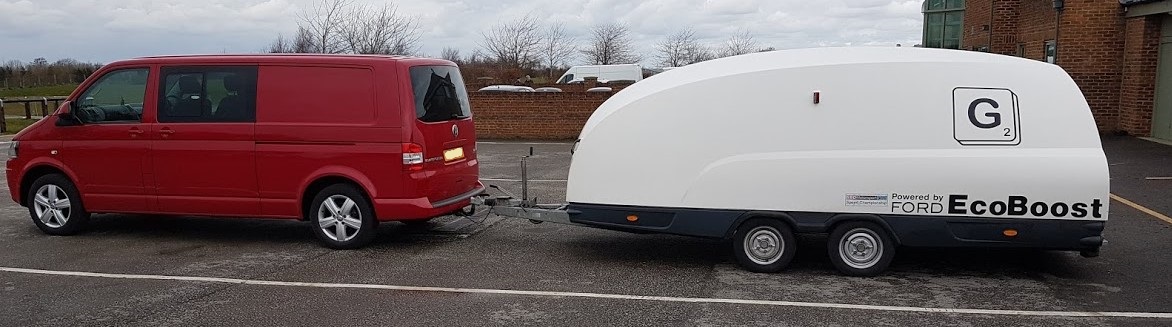
Spec: 2015 T32 Kombi 4Motion LWB
Modifications: Improving the sound deadening and thermal insulation (April 2018)
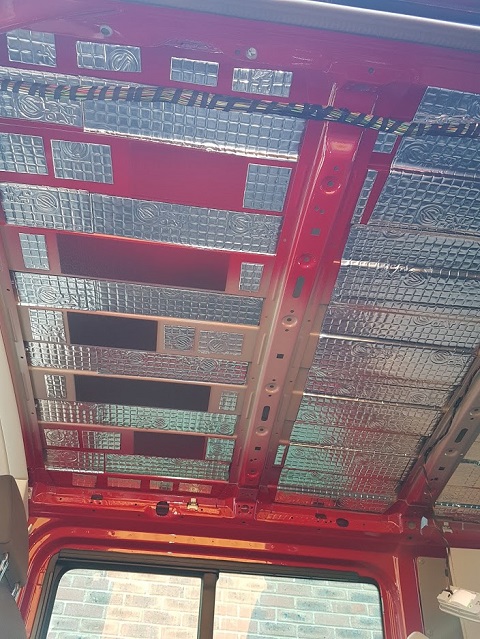
Stage 1 - Silent Coat 40
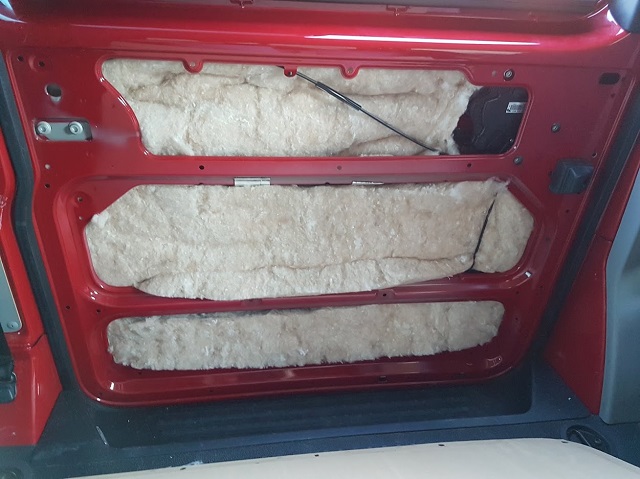
The interior panels of the Transporter, have very little sound deadening material in evidence, and after some research, the Silent Coat 40 product came out tops for the first stage for making the interior a quieter place to live. After removing the grey interior panels, the SC40 can be easily applied by simply peeling the backing paper off to reveal the sticky black bitumen layer, and pressing the sheet directly on to the metal panel. For odd shaped areas, the SC40 is cut to size with a pair of scissors, and make sure to keep all the off-cuts as they can all be used during the process to fill awkward gaps. Also try to wear old clothes if you tackle this job, as the bitumen is not easy to remove from jeans, or trainers, when you've been kneeling or sitting on a piece for any length of time (as I found out).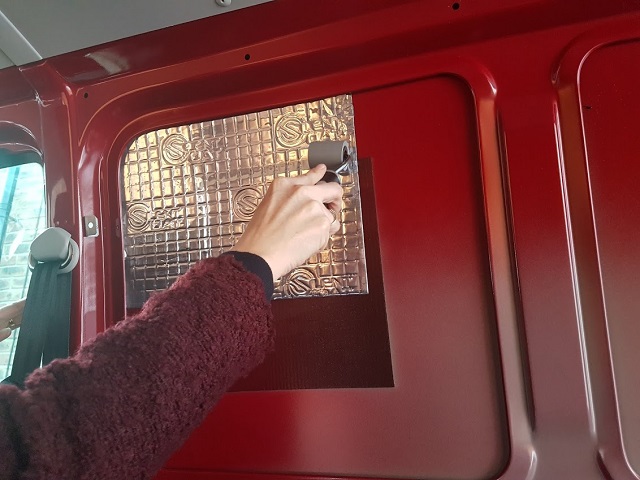
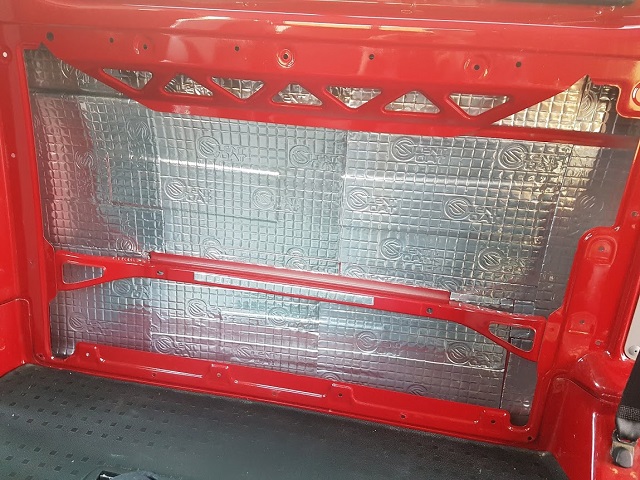
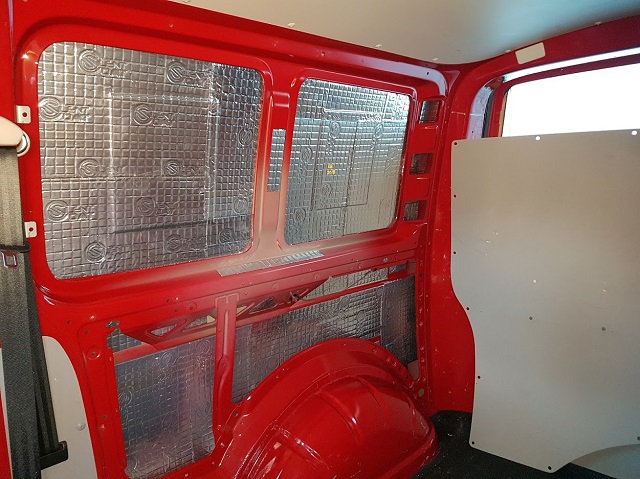
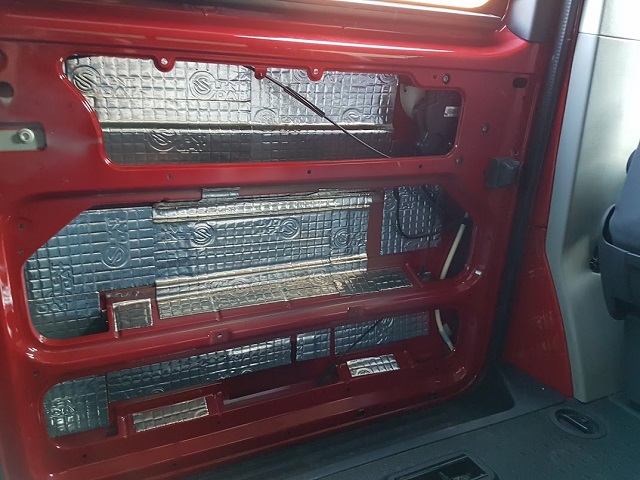
For the sides of the van, and the doors, I've used 40 sheets of Silent Coat 40. For the roof I needed a further 20 sheets, to give a full covering.
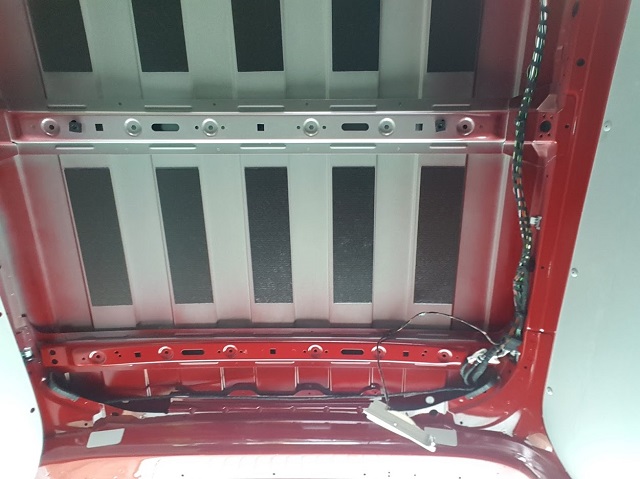
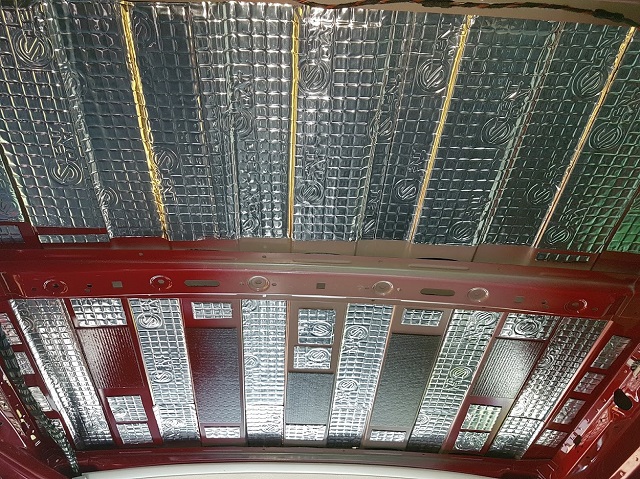
The roof was easiest to stick the sound deadening to, as it was a more uniform shape.
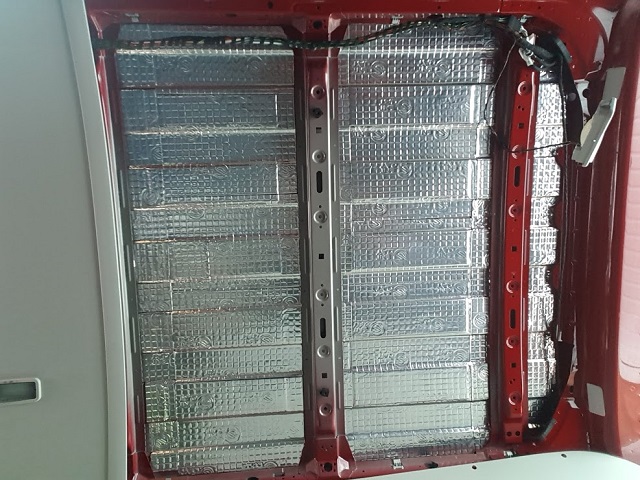
Stage 2 - B&Q Recycled Plastic Loft Insulation roll
To provide additional insulation, on top of the Silent Coat 40, a layer of 100mm thick loft insulation was applied. Now I didnt want to glue it in, as that would make maintenance very difficult. But as it turned out, I managed to poke holes through the very dense insulation roll, and use cable ties to support the insulation at various places. In others, it was just a case of pushing it in to the cavities and holding it in place with the interior panels.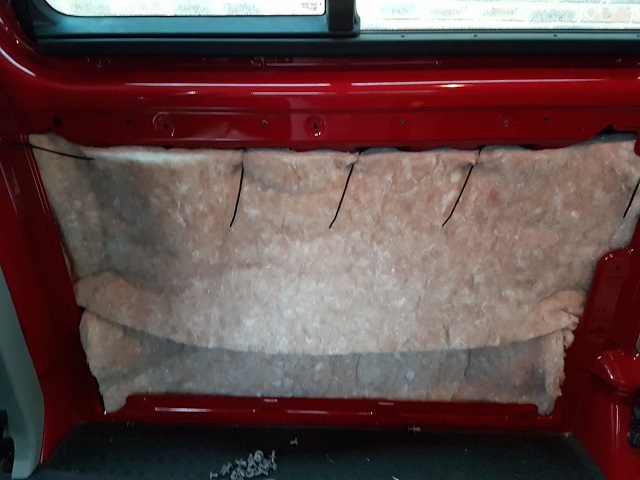
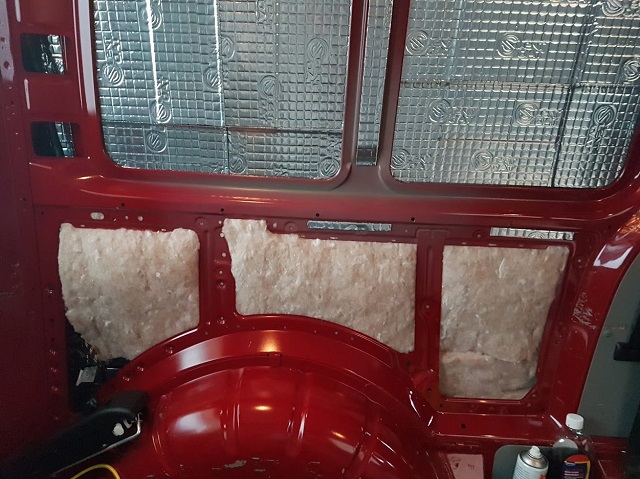
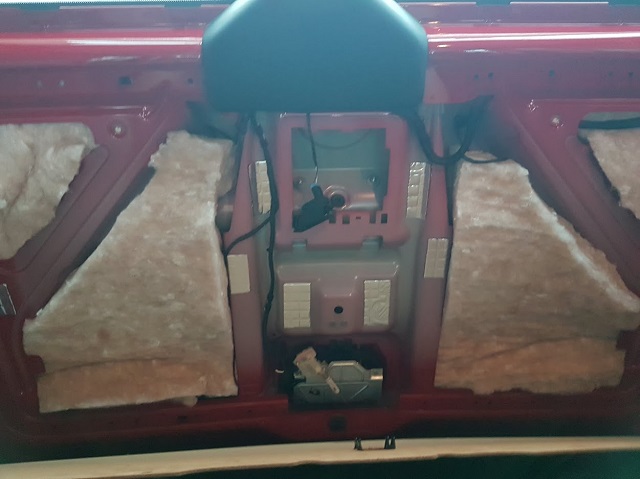
For the insulation of the the sides, roof space and doors, I've used 2.5 rolls of loft insulation. Insulating the roof space was quite tricky, or rather getting the panels back on afterwards, was definitely a two man job.
Handy Hint: Removing the panel fasteners
By far the quickest and easiest way to remove the dozens of panel fasteners is to use a wood screw, which is screwed by hand, in to the hole in the centre of the fastener, and the fastener is then firmly pulled from the panel. Simple.
Modifications: Mud Flaps
I bought a set of Van Style (vanstyle_4x4style) OEM style mud flaps, and these all fitted the van very easily. The rear flaps meant I had to make small holes in the rear bumper, to locate the vertical sides of the flaps, but they came with self tapping screws, and it was easy enough to do. My only concern is that the flaps dont flex, they're made from very tough and solid plastic, but then, maybe they're supposed to be solid.Modifications: Interior Lighting
I want to fit LED lighting inside, and as I want to control the brightness I'm looking for either touch control or remote control.Modifications: Exterior Lighting
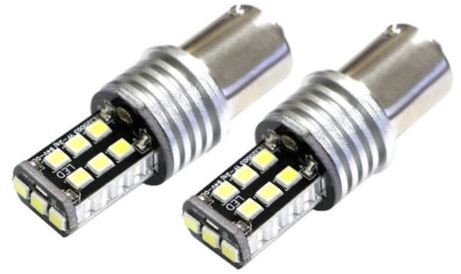
The standard van lighting is nothing short of 'adequate'.I have fitted '382' LED bulbs in place of the DRLs, and the difference is very noticeable. They're so good I may not bother with fitting additional DRL's in the bumper.
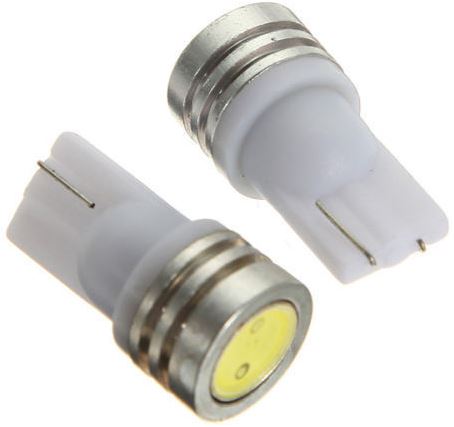
I have also fitted LED side light bulbs.
For its dip and main beam lighting, the T5.1 uses halogen H4 bulbs, and the light output using 60/55W bulbs is pretty dismal compared to modern LED and HID headlamps. I've found a set of CREE LED H4 lights, that support Hi and Lo beam, and have a lifespan of 100,000hrs, which I'm going to fit. They're made by Nighteye, and are sold by Lightec-autostyle.co.uk. I'll offer up my opinion when I've fitted them to the van.
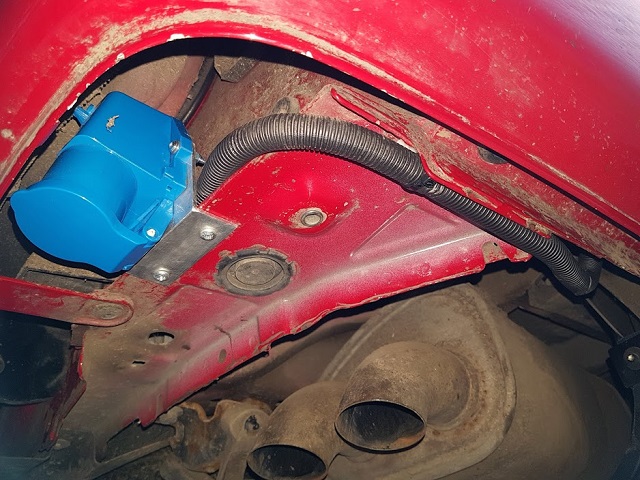
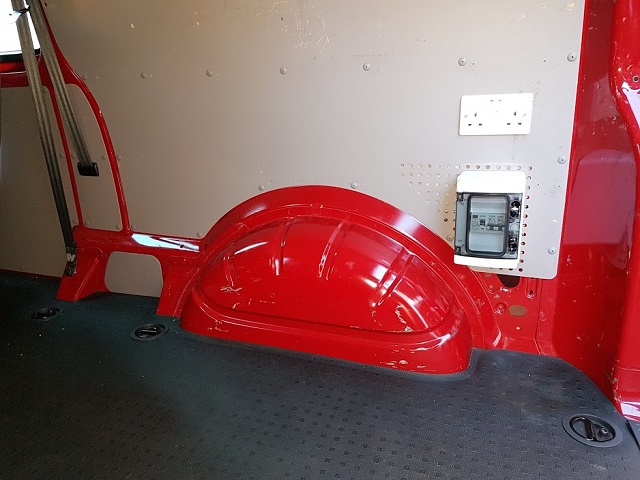
Modifications: 240V consumer unit
I have fitted a waterproof 16A power connector up inside the rear bumper, that feeds power to a RCD consumer unit and a pair of 13A sockets via the 16A fuse. It took me around 3 hours to fit everything, and its so nice to be able to connect to a hookup point now, and have electricity to keep the fridge running all weekend. Its also handy for charging the laptop, and the batteries in mobile phones and laptops. Note: The van body is also earthed, I fitted the wire after I'd taken the picture.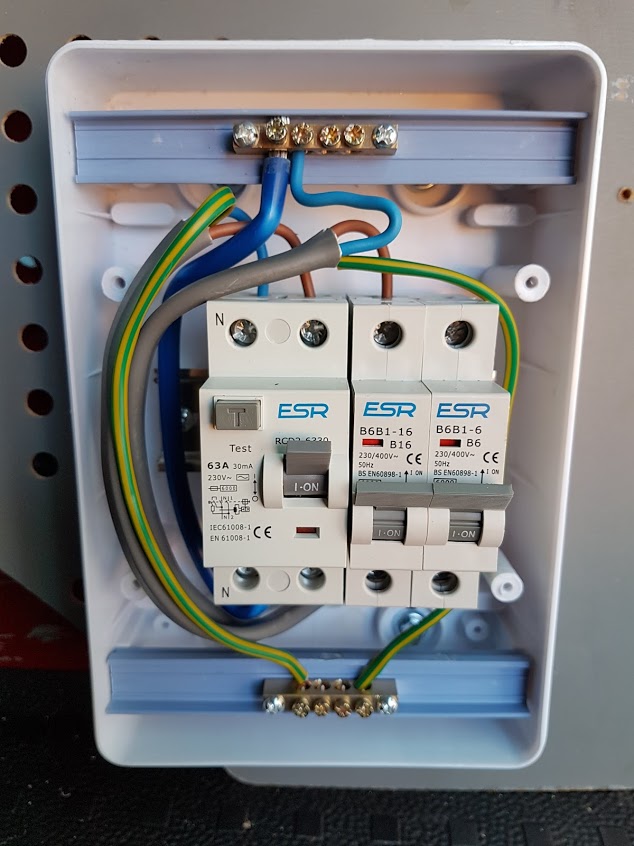
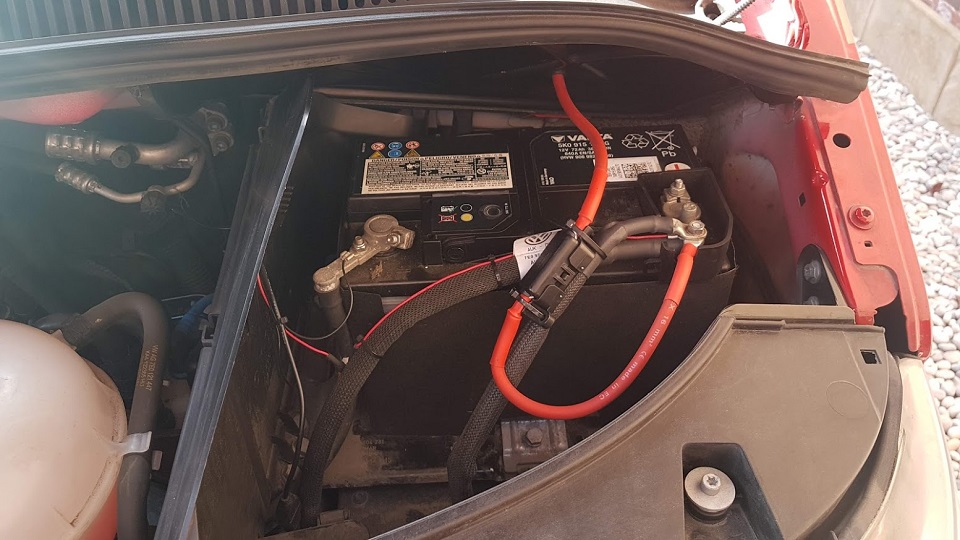
Modifications: Leisure Battery
I bought a split-charge fitting kit from ebay, that included the relay and all the wiring I needed to install a Leisure Battery. The battery is sat underneath the drivers chair, and the heavy duty cable runs from the battery in the engine bay, to the drivers seat, under the rubber floor. A voltage sensing relay allows the alternator to charge the battery, once the voltage rises above a set value.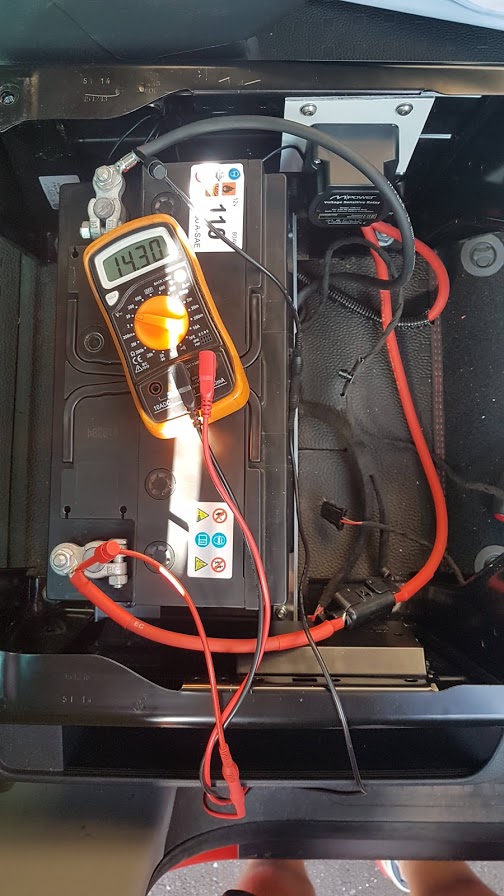
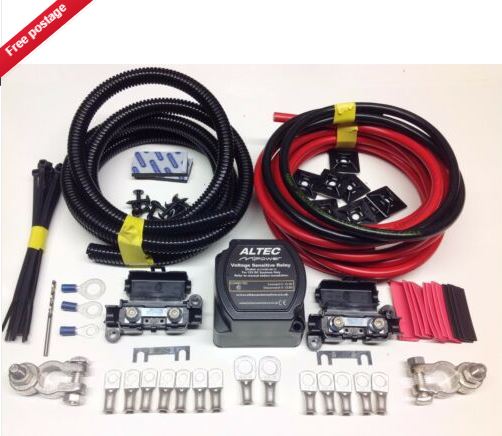
The split charge wiring kit I bought can be found here
The video I followed to show how to route the cable safely inside the cabin is here