Pictures - page 1
Last(Click on any picture to see the larger version)
All pictures are © zetecinside.com™ including the Zetec Inside™ logo
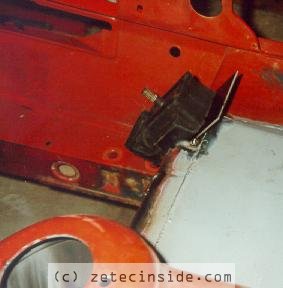
- Installing the engine
- Fitting the bodykit
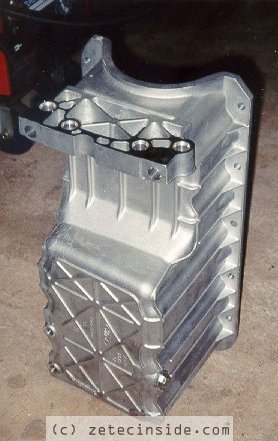
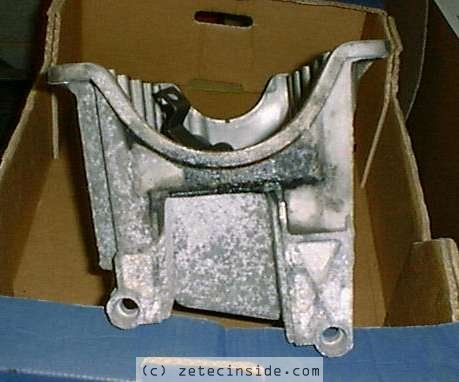
- Installing the five speed gearbox
- Modifying the roll cage
- Shots from the archives
- The MSA Rally, 16th July 2000
- Prodrive (Subaru) visit December 1998
- Hi Res pictures of the Fiesta
- Picasa web albums
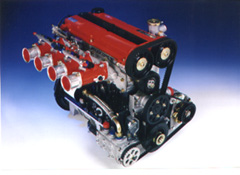
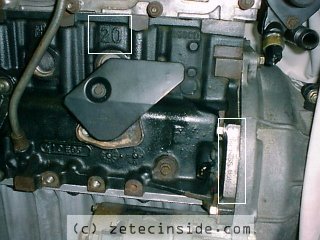
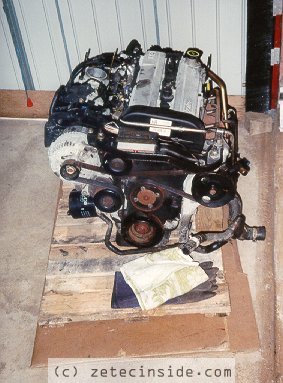
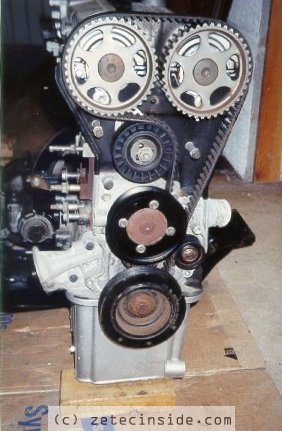
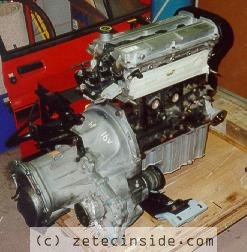
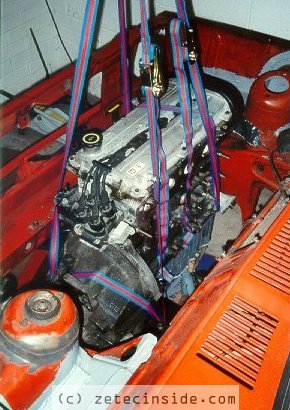
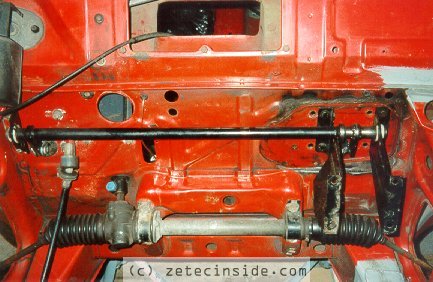
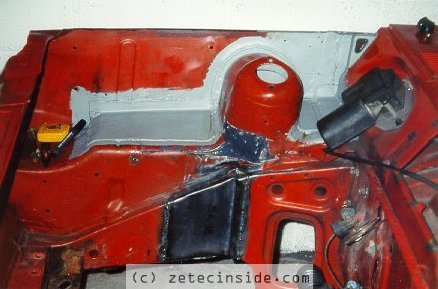
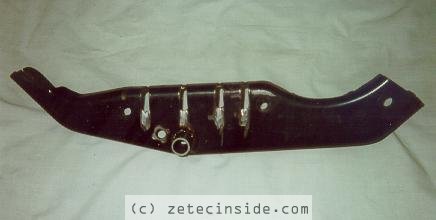
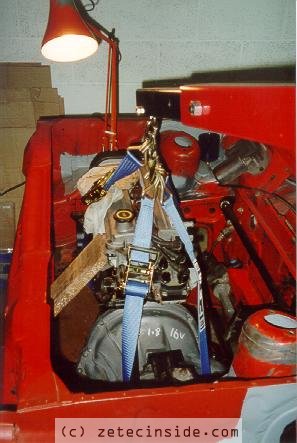
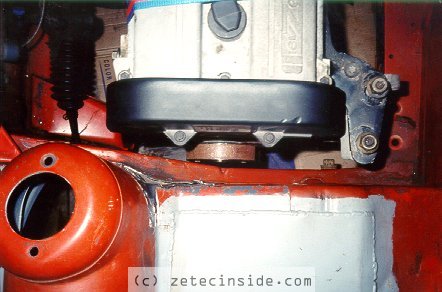
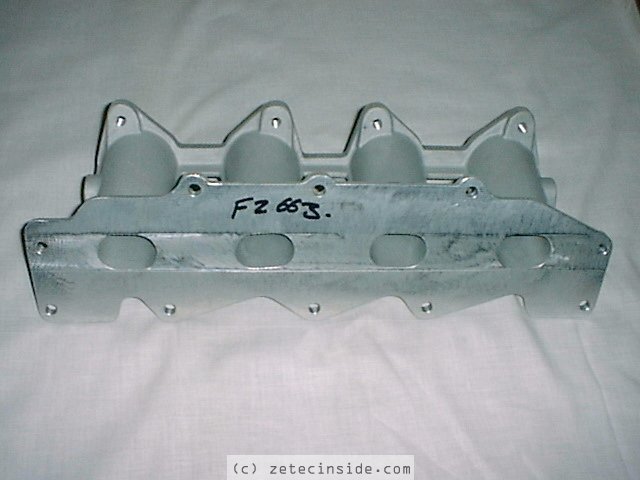
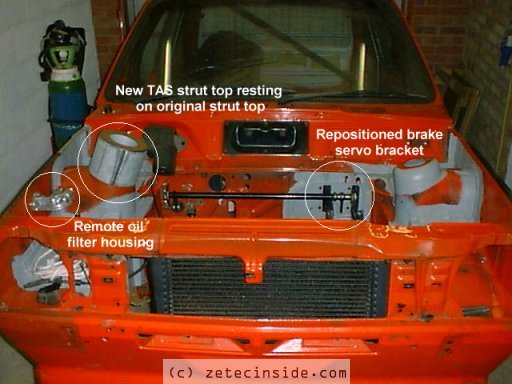
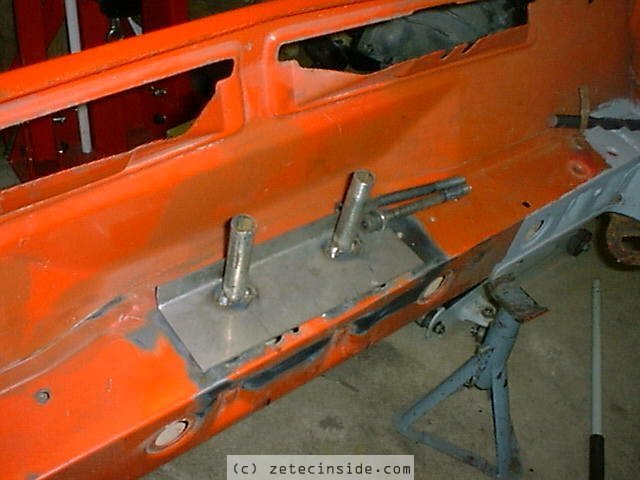
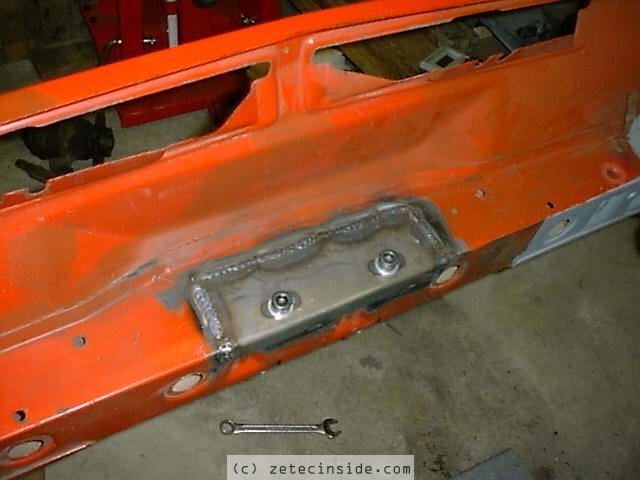
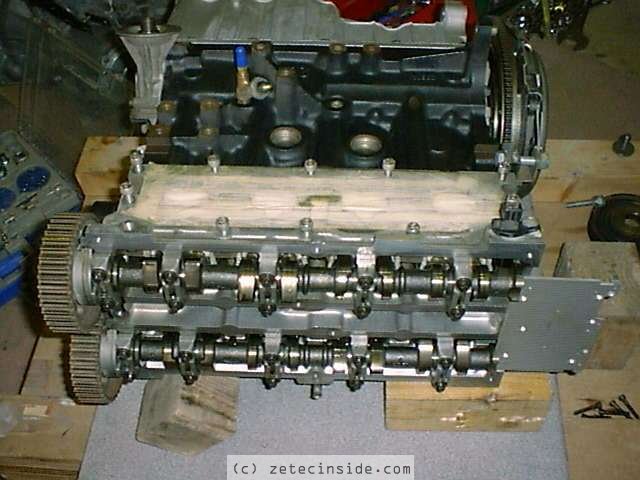
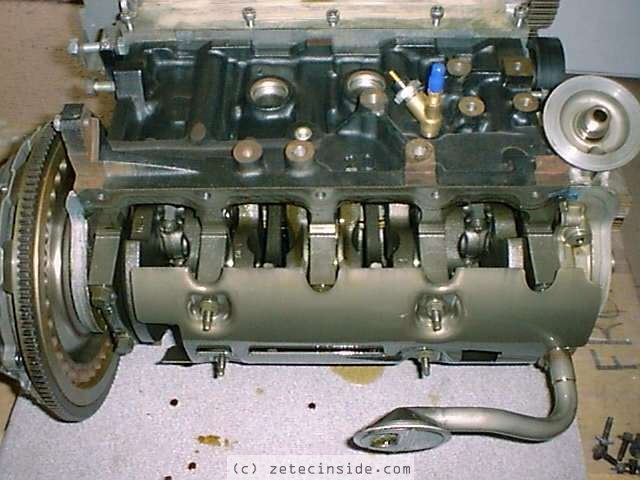
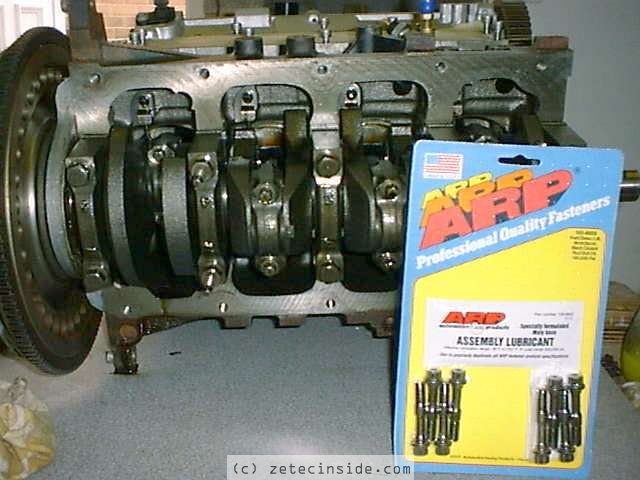
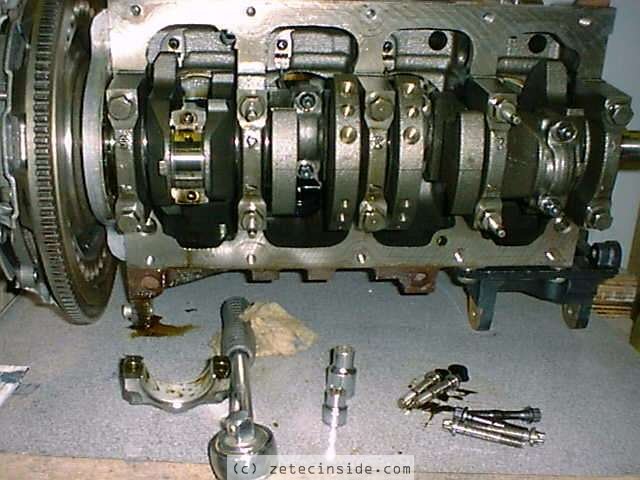
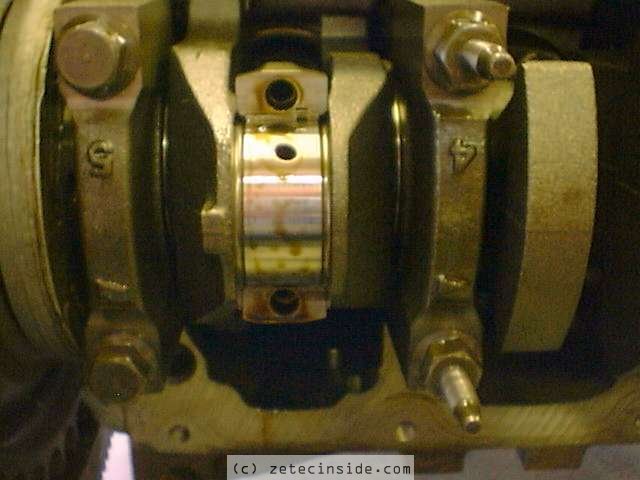
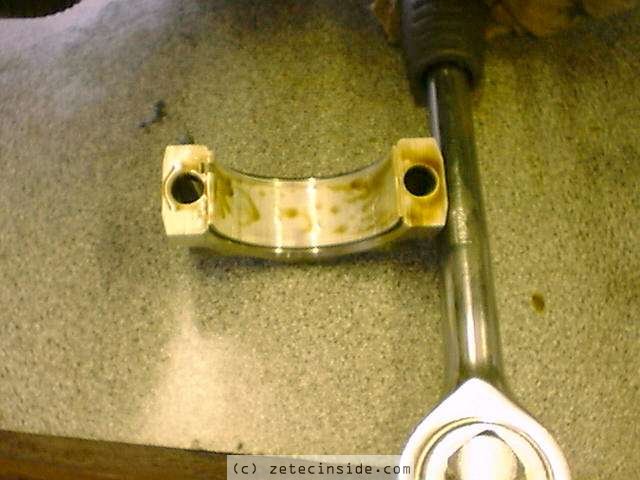
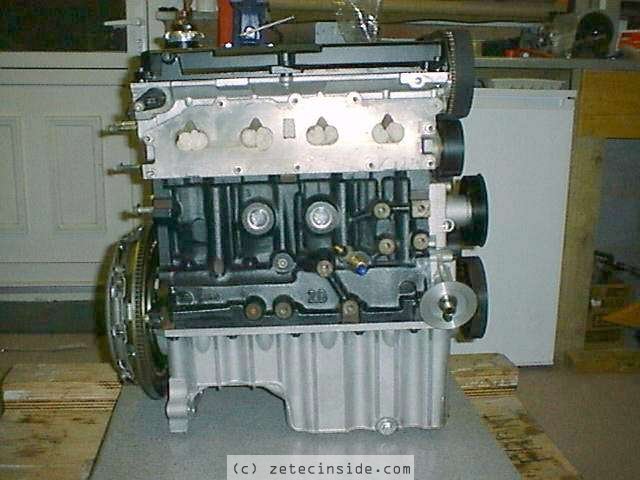
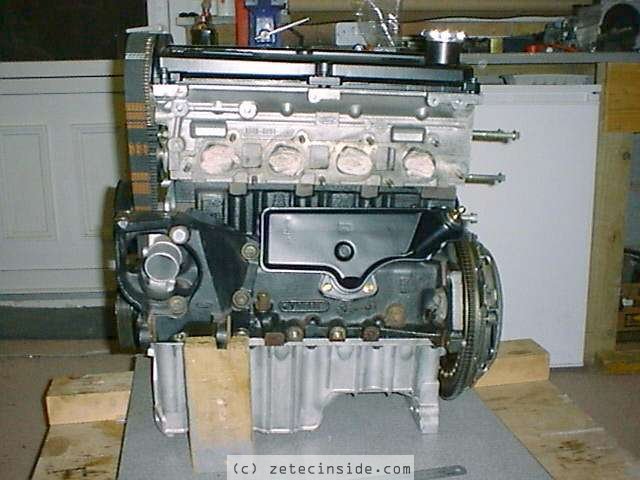
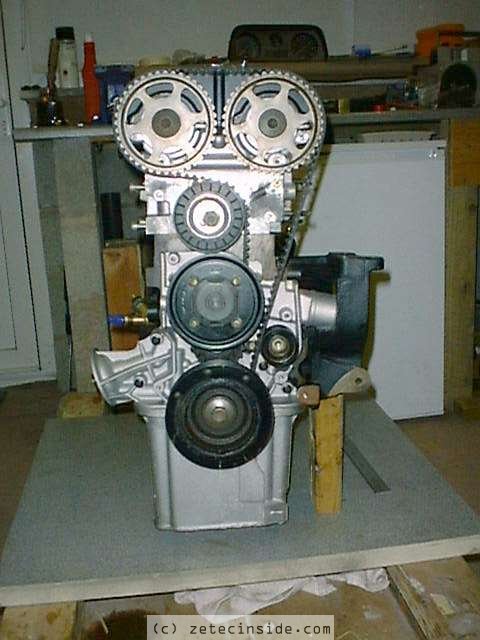
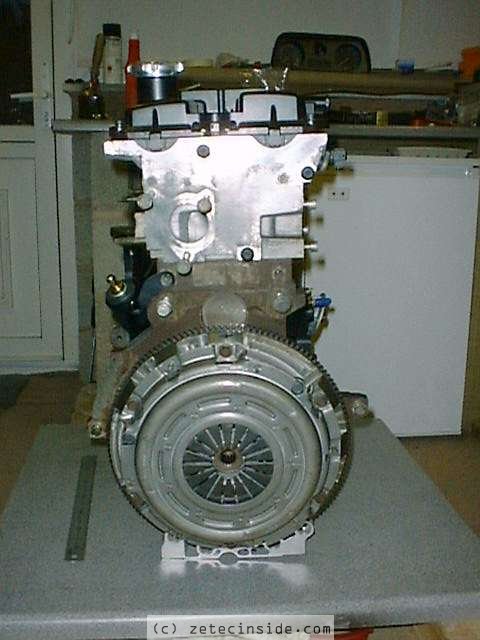
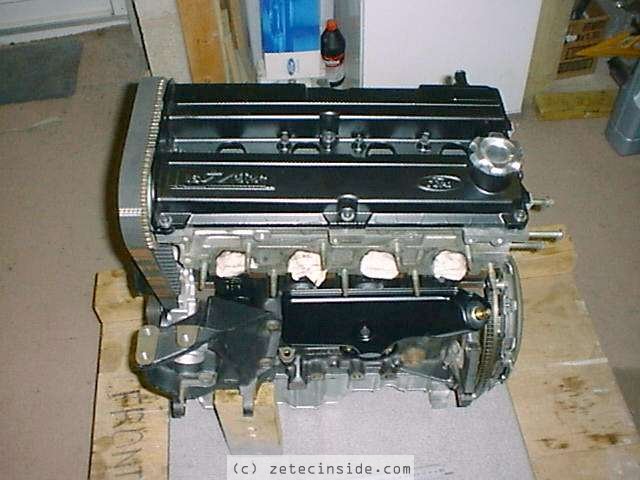
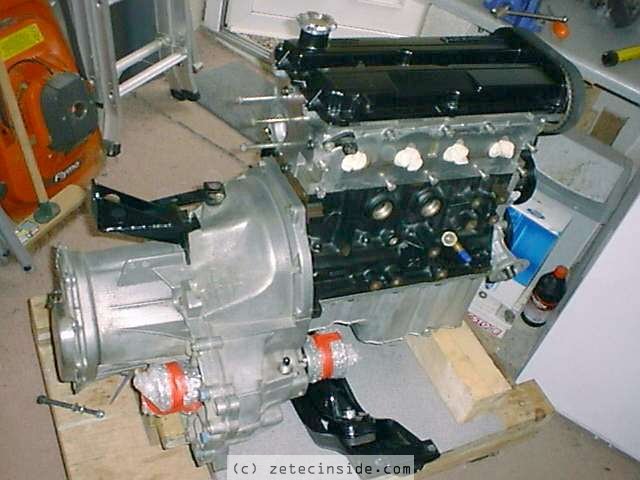
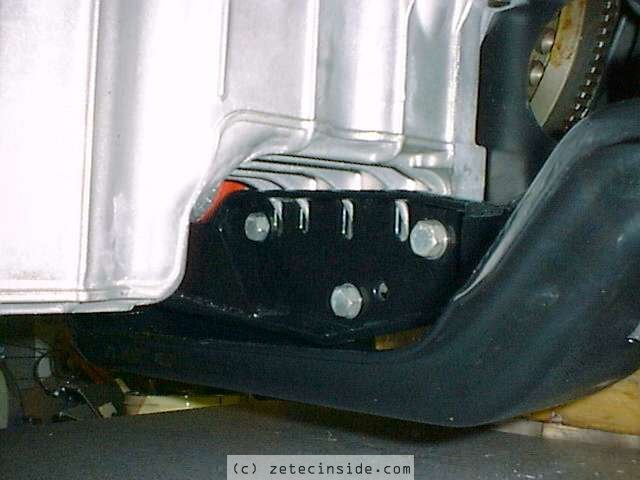
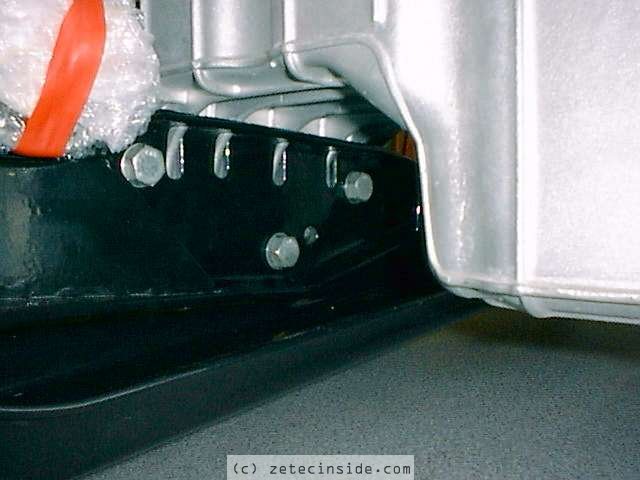
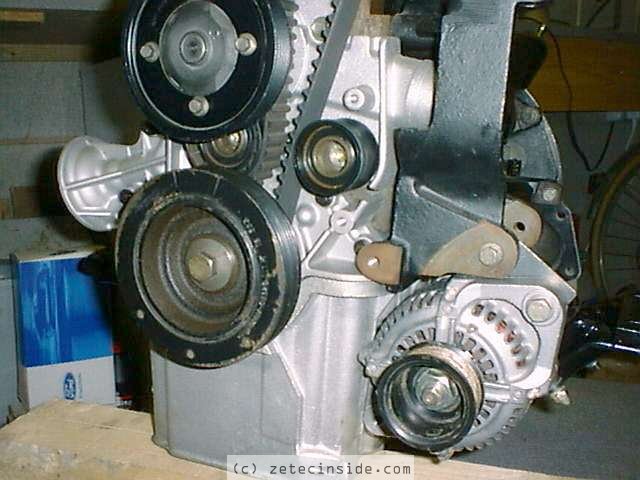
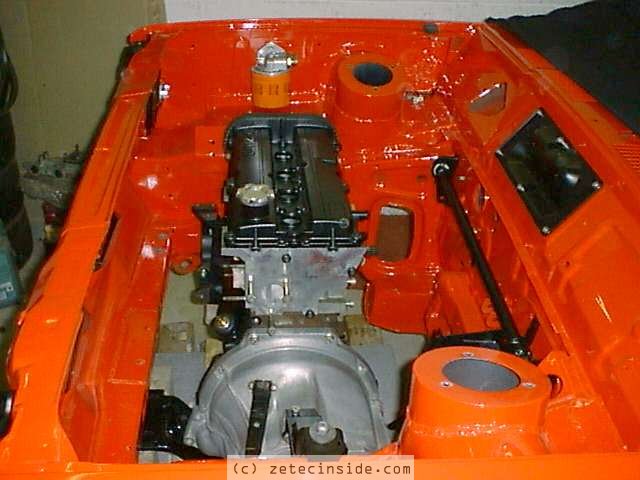
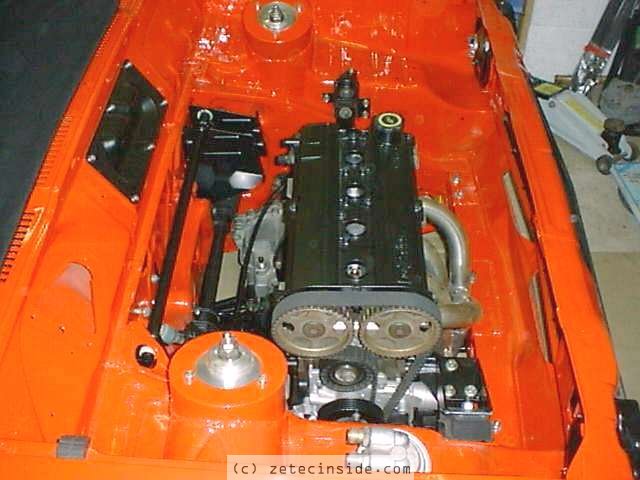
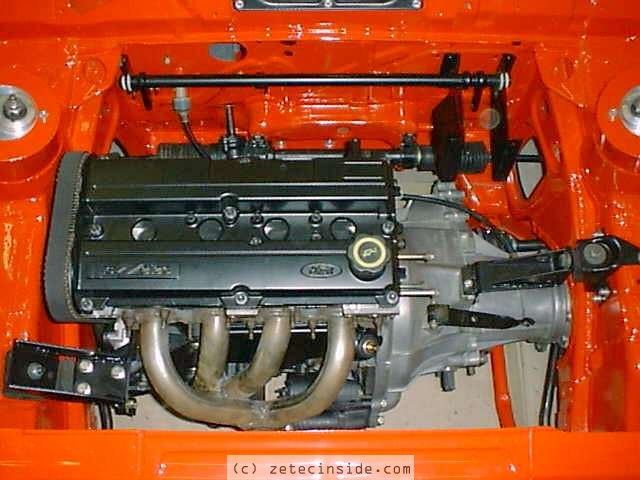
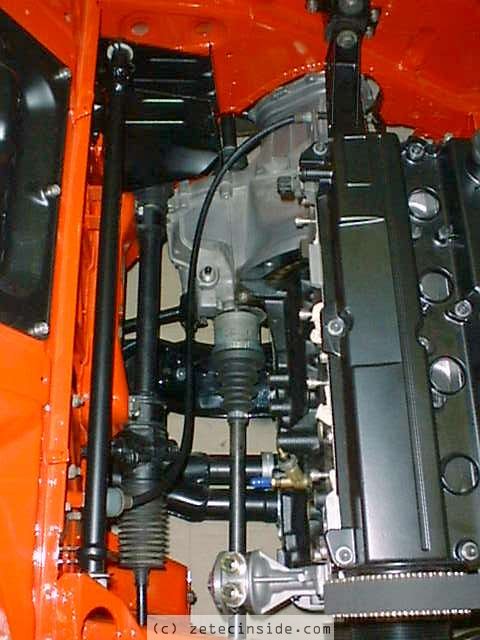
Installing the Zetec engine
This set of pictures shows how I fitted the 2.0 Zetec 16V, from a 1995 Mondeo GLX. It was mated to a five speed Quaife gearbox (with ATB LSD), with AP Clutch and diaphragm, with a Dunnel lightened steel flywheel.